The Intuitive Collage Process | How to Get Past a Creative Block
Do you ever use the intuitive collage process to get past creative blocks? If you’ve never heard of intuitive collage or don’t know how it can help you, today I’ll be sharing with you everything you need to know about this process!
Intuitive collage is a great technique for getting the creative juices flowing. It’s a great way to prevent us from overthinking the creative process. So often we get stuck because we are judging our work or feel uncertain about where to go next with our art. The intuitive collage process can help us to let go, be fully immersed in our projects, and let the creative part of our brain take over.
Hop-A-Long Studio is reader-supported. When you buy through links on our site, we may earn an affiliate commission at no cost to you. Learn more.
What is the Intuitive Collage Process?
The intuitive collage process starts with picking random papers and textures to use in your art piece. The intention is not to plan your piece, but to go with what feels right. We can get stuck in analysis which creates creative blocks. This process allows our minds to wander as we work, instead of judging every step of our creation.
How I Choose Papers for Intuitive Collage
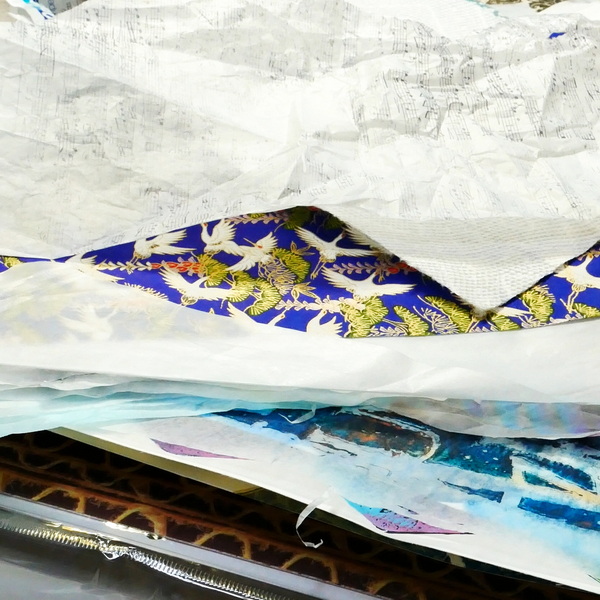
How do you start choosing paper for the intuitive collage process? I tend to grab a pile of scrapbook paper, gelli prints, and printed tissue papers. I’ll leaf through the pile quickly and randomly grab things that catch my eye. I don’t worry about what colors or patterns will work together. Let your creative brain take over. If the pattern is appealing or catches your eye, I use it.
How to Collage in Your Art Journal
If you’ve never done a collage piece before, start with your favorite adhesive medium or Mod Podge. I love Liquitex Matte Medium as it has very little scent, is artist grade and a little medium goes a long way.
Add matte medium to your journal page, surface, or board with an acrylic brush. Then add some to the back of the piece of paper that you’d like to adhere. Press the paper to the surface. Finish by adding a thin layer of Liquitex Matte Medium with a brush to the top of the paper.
If you’d like more information about using collage in your art journal, visit this article: How to Decoupage in an Art Journal.
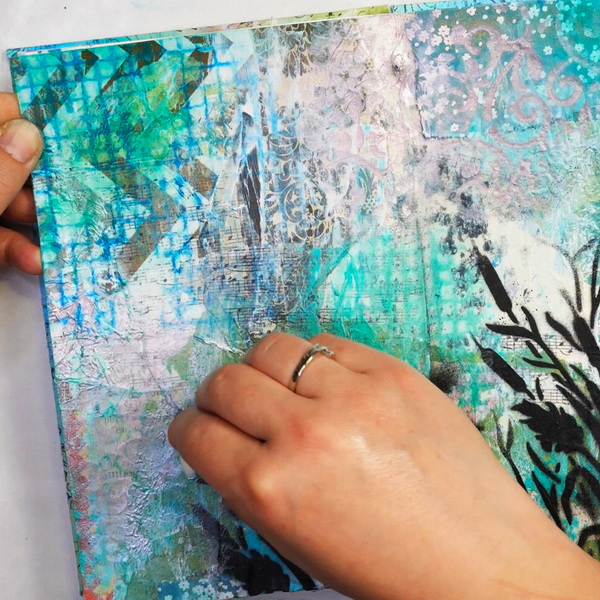
How to Keep the Collage Process Intuitive
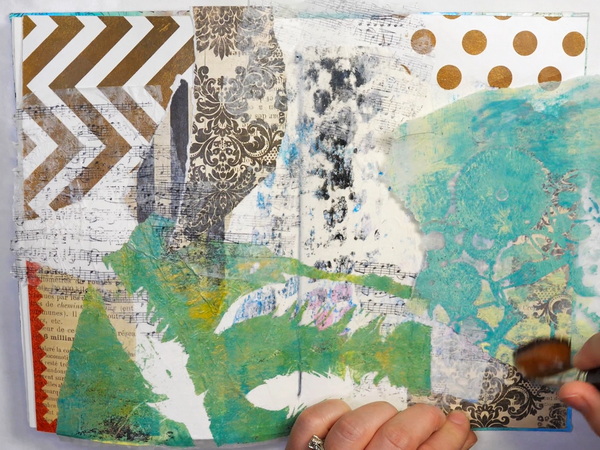
To keep the collage process intuitive can be difficult. It’s easy to let the logical and analytical part of our brain to take over. To help with this, I grab whatever paper catches my eye, tear to a shape that I like and apply it immediately. I try not to look too much at the overall piece, I add layer on layer of paper to the surface.
I find the key is to work quickly. This keeps me from getting too analytical or precious about the intuitive collage process. Continue to layer papers, giving yourself permission to do unexpected combinations. Add colors that you normally wouldn’t use together. Layer scrapbook paper over tissue paper. There are so many ways to enjoy the intuitive collage process, the key is to not analyze too much, just do.
Keeping Your Mind Quiet
I find when I’m teaching in person, I tend to fall into the intuitive collage process a lot more easily. Because I’m explaining as I go and my students are asking questions, I don’t have as much attention on my collage process. In a way it keeps my mind quiet and lets my creative brain take over more.
You may find the process easier if you find something distracting that will let you mind wander. You will notice that it will be much easier to fall into the intuitive collage process.
The intuitive collage process and intuitive art takes practice. It’s very easy to fall into analysis and judgement. When we give ourselves the permission to play, it’s amazing the unique and surprising results we’ll get in our art.
Why Use the Intuitive Collage Process?
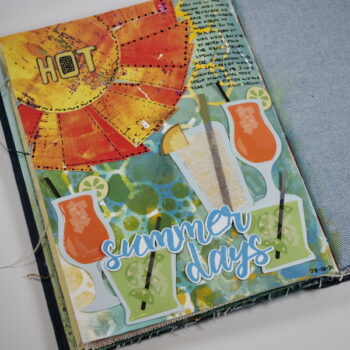
I purposely chose the intuitive collage process this week because I’ve been stuck in my own creative process. You might have noticed that I haven’t posted for a few weeks.
I’m sitting in my art room wondering how I can get myself back into writing and creating and finding something meaningful to share with you.
The intuitive collage process came to mind. I was feeling paralyzed, so I grabbed some paper, my camera, and started creating in my art journal and recording the process. It’s amazing how quickly the creative juices flow with a bit of intuitive collage!
The Next Steps
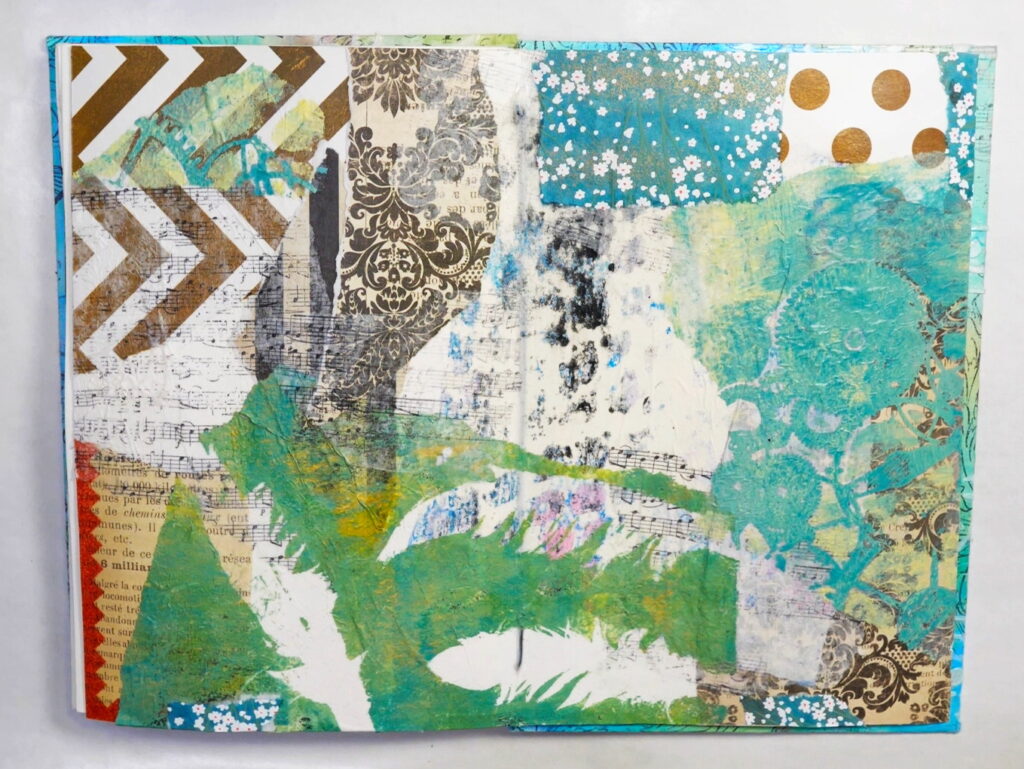
Now that we’ve created a quick and easy intuitive collage, what’s next? How can we turn this into a meaningful journal page?
At this point, I could have continued to add layers or paper and paint and make this a bit more of an abstract page. But I had some fun ephemera from Simply Stated Design that I wanted to add to this page, so the intuitive process continued!
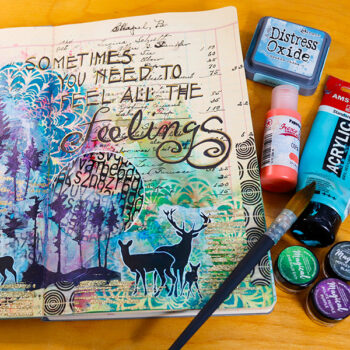
Adding Acrylic Paint
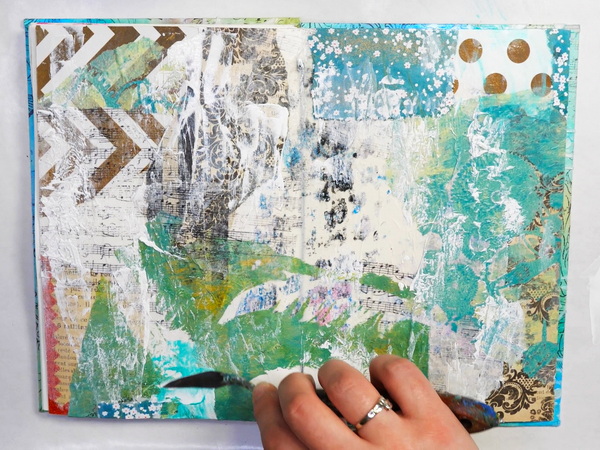
After I completed my collage, I evaluated my page. I love the variety of color and how they aren’t all cohesive. I did want to try to create a little bit of harmony, which is easy to do with a bit of Amsterdam Titanium White acrylic paint.
Use a palette knife and paint brush to scrape and brush on Titanium White over the collage. You don’t want to add too much.
Scrape a bit on. If it feels like it’s overpowering the paper, rub some off with a paper towel or baby wipe. The palette knife will pick up more of the texture of the paper, while the brush will create an even coat of paint. Continue to play with the paint and collage until you’re happy with the result.
If you want to add some more color, you can easily add in your favorite color of acrylic paint. Using Amsterdam Turquoise Green I added in small areas of this color to the white using a paint brush and palette knife.
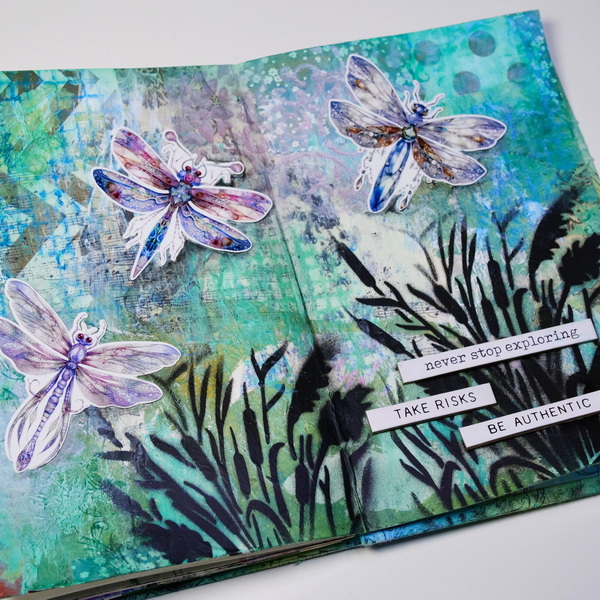
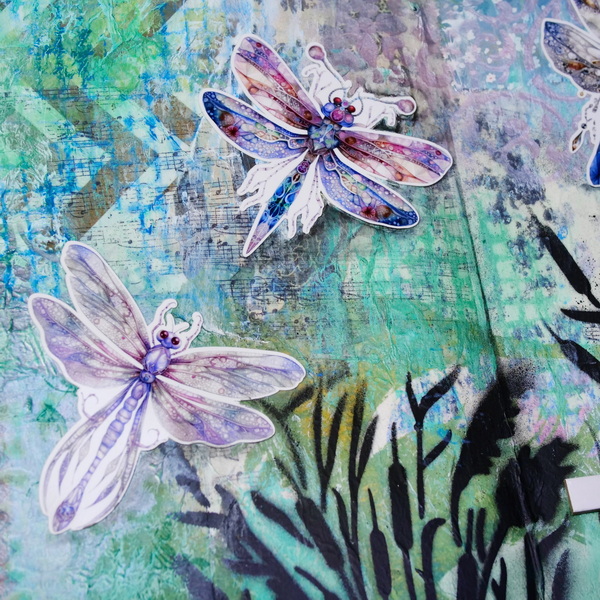
Deciding on a Focal Image
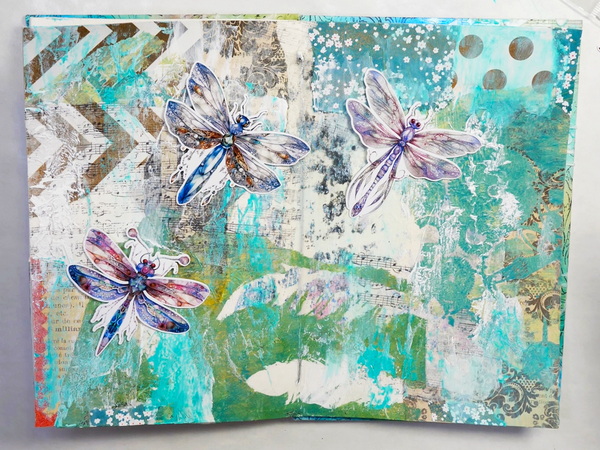
At this point, I started to plan my page a bit more, but continued to stay in the intuitive mindset. I keep a variety of images around that can be easily used as elements on my projects. I had a set of beautiful dragonflies from Simply Stated Design that helped guide me where I wanted to go next with this project.
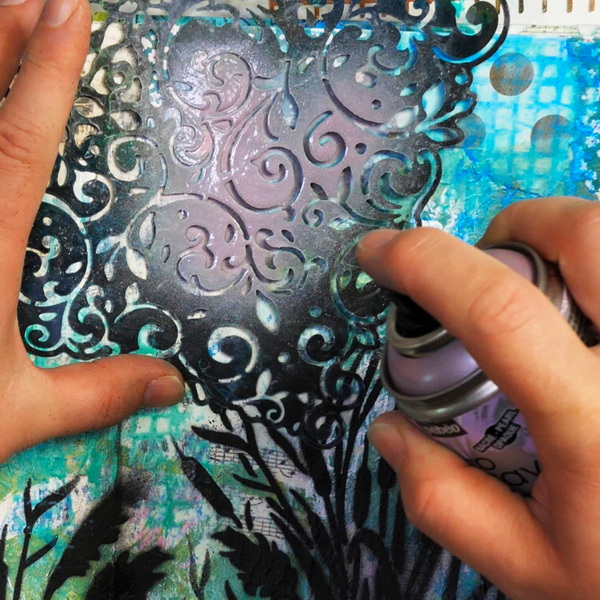
Adding Spray Paints
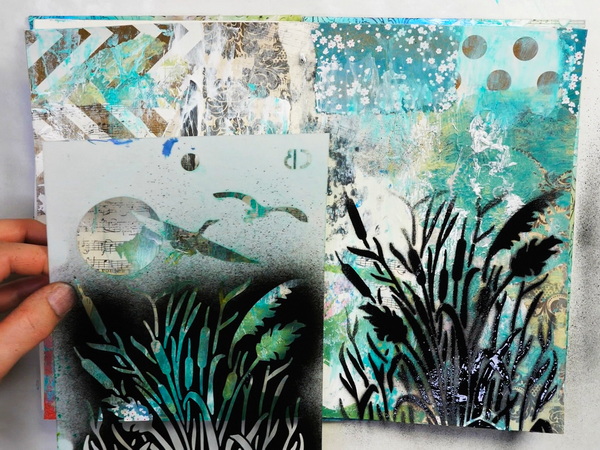
My favorite spray paints for the art journal are Pebeo spray paints. They are a quick and easy way to add vibrant color to any surface.
To get the best results with these paints, make sure to shake them for at least 2 minutes. Otherwise, you’ll get mostly accelerant and not paint when you spray it onto your page. If the smell is very strong, that will indicate that you need to shake it more.
I chose a few stencils from my collection and applied spray paint through them to create images. Using matte black spray paint and a Ciao Bella stencil I added a variety of grasses and bullrushes to the page. I didn’t use the full stencil image. Don’t feel that you need to add a full image to your page. Using parts of stencils can create stunning effects!
Dealing with Over Spray
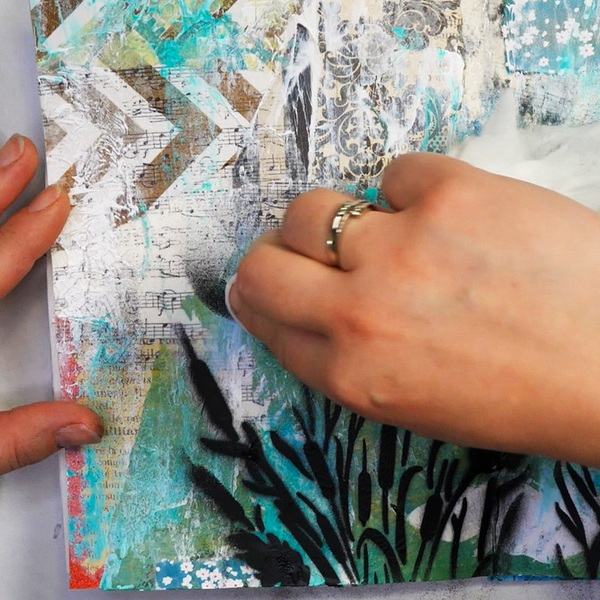
The hard thing about using spray paints is if you aren’t careful, you’ll get overspray. This means that you’ll have paint that spreads past the stenciled area. This can create harsh lines or add in imagery that you didn’t want to add.
To prevent this, add paper towels or paper around your stencil. If you’ve already sprayed your piece, use a baby wipe to quickly remove the overspray color from the paper. As the paper is sealed with matte medium, it protects it and makes the paint wipe up easily.
Adding More Stenciled Details
Continue to add some spray paints to the background, using different patterns and colors. For my art journal page, I used the Pebeo Lilac Spray Paint to add in flourishes and other marks. At this point I was going for a more intuitive feel to the page. I added color quickly without being concerned about where it fell on the art journal page.
Using Distress Crayons and Gelatos
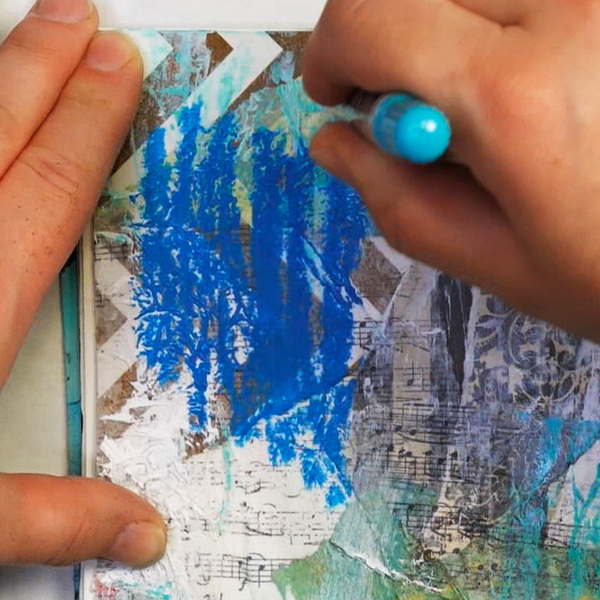
I was having fun with experimentation and started adding in Tim Holtz Distress Crayons and Winsor and Newton Gelatos. These are mediums I’ve had for a long time but haven’t used much recently. That’s the fun of the intuitive art process. It’s a chance to just grab supplies and see what happens when they’re mixed with other mediums.

Add an area of Tim Holtz Salty Ocean Distress Crayon to the surface. If it’s been applied unevenly, use a baby wipe to smear it so that it creates a smooth blend. Add your favorite stencil on top of the area with Distress Crayon. Use a baby wipe to pick up the crayon from the areas of the stencil.
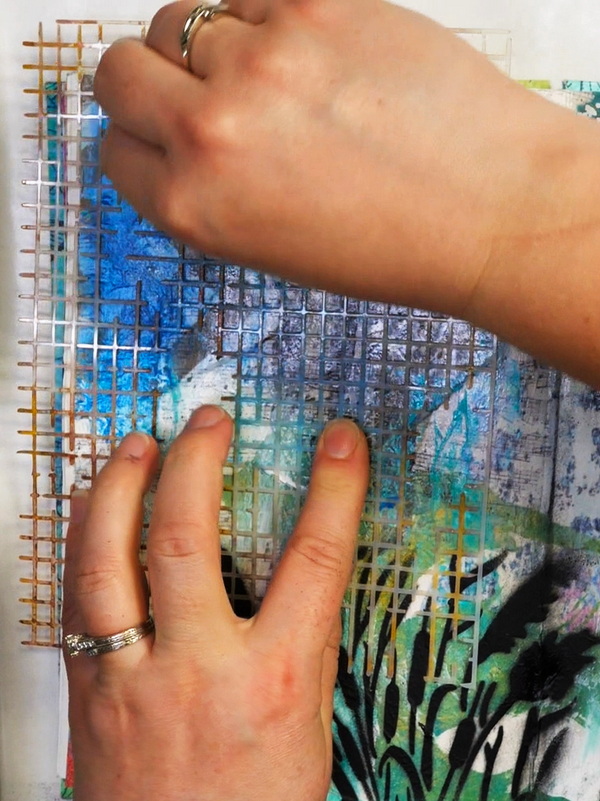
When you pull up the stencil, you’ll see a beautiful pattern. The stencil acts as a mask so that you can remove some of the color to create a beautiful design.
I find the Winsor and Newton Gelatos and the Tim Holtz Distress Crayons work similarly on a collage surface. Though the Winsor and Newton gelatos have shimmer where the Distress Crayons are matte color.

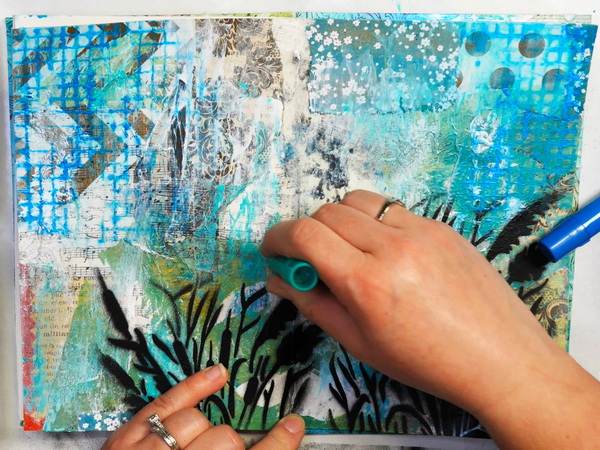
Adding in Pan Pastels
As many of you know, I LOVE Pan Pastels and always look for an excuse to use them in my projects. To create interesting designs and texture, use Versamark ink to stamp images onto the collage. I am using the Tim Holtz Baroque stamp to create flourish shapes onto my collage.
Let the Versamark Watermark Ink dry for a minute or so. Using your favorite blending tool, add Pan Pastels to the surface. You’ll see the details of the stamped image appear as the Pan Pastel will stick to the ink without smearing the image.
You can also use the Pan Pastels on top of the collage to add subtle color to the border of the collage. At any point if you feel like you’ve added in too much color, just use a paper towel to remove or lighten color.
For more information about Pan Pastels and Watermark Ink, check out this article: Watermark Magic with Pan Pastels.
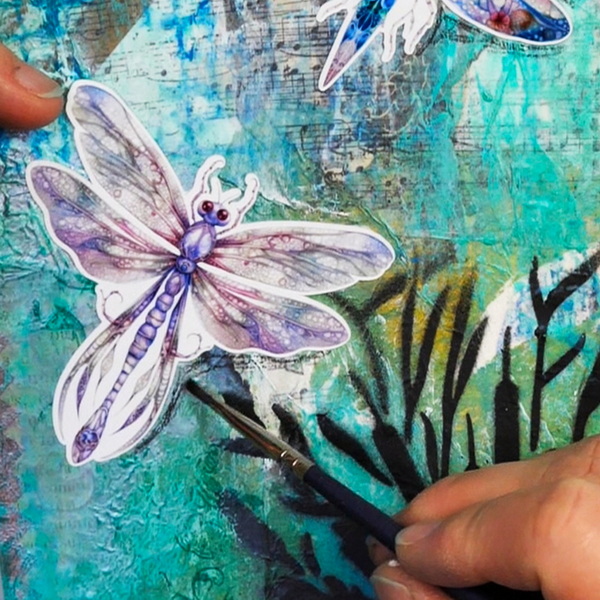
Finishing off the Page
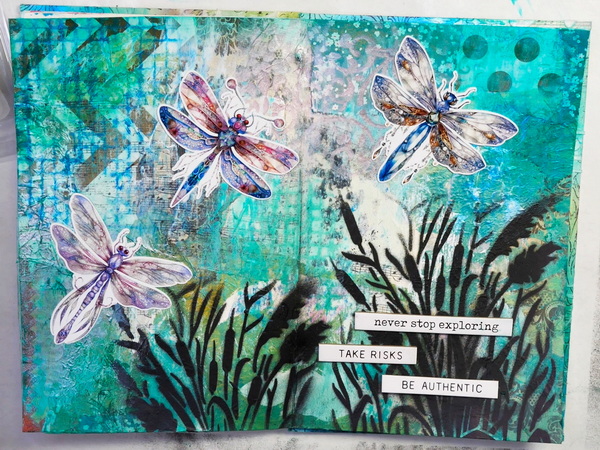
Once you’re happy with your background, you can add your focal images. I added in the dragonflies using Art Glitter glue. I also found some Tim Holtz Ideology Quote Chips that suited the theme of this page. As my page had curled a bit, instead of using Art Glitter Glue, I used Sookwang tape to adhere the quote chips in my art journal. Sookwang tape is the only tape I’ll use in my art journal as it is strong enough to hold thick or heavy objects.
Adding in Shadows
If you find that your focal image needs more definition, add some shadows using a Stabilo All Pencil. You can add in shadows with this dark pencil, but my favorite feature of this pencil is that it’s also water soluble. I like to blend the black out with a brush and add a bit of water to blend and move the color. It’s a little detail that goes a long way to create a beautiful art journal page!
Any Questions?
Any questions about the intuitive collage process? I know I combined quite a few mediums in this project, but each step is easy to do. The key was to not overthink the process but be as intuitive as possible as you work.
I’d love to know if you tried this project or if you’ve attempted the intuitive collage process before. Please comment below as I’d love to start a conversation with you!
Project Supplies
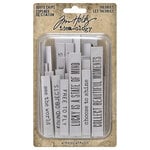
Idea-ology – Tim Holtz – Quote Chips – Theories – $7.99
from: Scrapbook.com
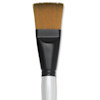
Simply Simmons XL Soft Synthetic Brush – Flat, Size 30 – $13.27
from: Blick Art Materials

Creates a matte, non-reflecting finish when added to acrylic colors. Lightweight, non-toxic; Opaque when wet, translucent when dry. Intermixable with Liquitex Professional Acrylic Paint Colors and Mediums
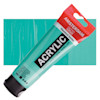
Amsterdam – Turquoise Green, 120 ml Tube
from: Blick Art Materials
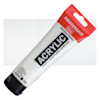
Amsterdam – Titanium White, 120 ml tube
from: Blick Art Materials

A 5-piece premium quality stainless steel artist palette knife set with sturdy comfort-grip wooden handles. Set includes the essential shapes and sizes needed for most types of palette knife techniques and painting applications.
PanPastel Artists’ Painting Pastel – Phthalo Green Extra Dark, 620.1
from: Blick Art Materials

PanPastel Artists’ Pastels are pigment-rich, professional-grade soft pastels in a stackable pan format. Each contains 0.3 oz—about 35% more material than the average pastel stick—giving you easy access to intense, ultra-soft color that’s easy to lift, blend, layer without overfilling your surface’s tooth.

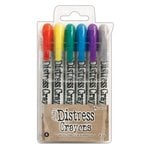
Ranger Ink – Tim Holtz – Distress Crayons – Set 4 – $12.99
from: Scrapbook.com

Art Glitter Glue is permanent and dries clear and adheres to a variety of surfaces. It's water based and acid free. Make sure to close lid to avoid drying of glitter glue. Bundle comes with one bottle of 8oz, one bottle of 2 oz and a metal tip for easy application.
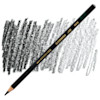
Stabilo Colored Marking Pencil – Black
from: Blick Art Materials