Easy Wet-on-Wet Watercolor Techniques for Beginners
If you are new to watercolor and learning wet-on-wet watercolor techniques, watercolor can sometimes feel challenging. You may feel like you have no control over your brush or your watercolor paint. Today we’ll cover the basics of wet-on-wet watercolor techniques for beginners to help you get great results every time!
Hop-A-Long Studio is reader-supported. When you buy through links on our site, we may earn an affiliate commission at no cost to you. Learn more.
The Problem
The problem with wet-on-wet watercolor is how do we control the water? When I was new to watercolor painting, a lot of my projects ended up looking like colored blobs instead of landscapes, clouds, or animals. I had a really hard time controlling the water on my page. I didn’t understand how to properly execute a wet-on-wet watercolor technique and how to get consistent results. We do this by controlling the water to control the paint.
What is a Wet-on-Wet Watercolor Technique?
A wet-on-wet watercolor technique is when you add a layer of water to your paper before adding watercolor paint to the page. The paint will react with the water on the page, moving and flowing in interesting and dynamic ways. The results of a wet-on-wet technique is generally a softer, less detailed effect than using a wet-on-dry watercolor technique.
Factors that Affect Wet-on-Wet Watercolor Techniques
What Kind of Paper are you Using?
What kind of paper are you using for your watercolor painting? If you are trying wet-on-wet watercolor techniques on cheap and thin watercolor paper, this won’t give you consistent results.
I would suggest buying the best paper that you can afford. Recently I’ve been using Strathmore 200 cold press watercolor paper which is decent quality cold press paper (300gsm). It is considered a practice paper for watercolor art but isn’t a high end or super expensive paper. The Strathmore 200 watercolor paper is heavy weight. It works with water beautifully and I get very consistent results with watercolor paint.
Wet-on-wet techniques on inexpensive watercolor paper can be challenging. The water will generally not absorb into the paper evenly and you’ll struggle to get an even flow of paints and water on the page. By using a good quality watercolor paper this can make a big difference on your final project and how much you enjoy watercolor painting.
How Much Water are you Adding?
Depending on the technique and the watercolor paper you are using, you need to think about how much water you are adding to the paper. If you have ponds of water on your paper, this can lead to uneven drying and harsh lines on your projects.
The key is having an even layer of water in the area that you are adding paint for a wet-on-wet technique. If you add too much or too little water, this will directly affect the final result with your watercolor paints.
Be very aware as you work through this lesson about how much water you are adding to your page. This makes the huge difference on the overall result of your watercolor piece.
Creating a Wet-on-Wet Watercolor Piece
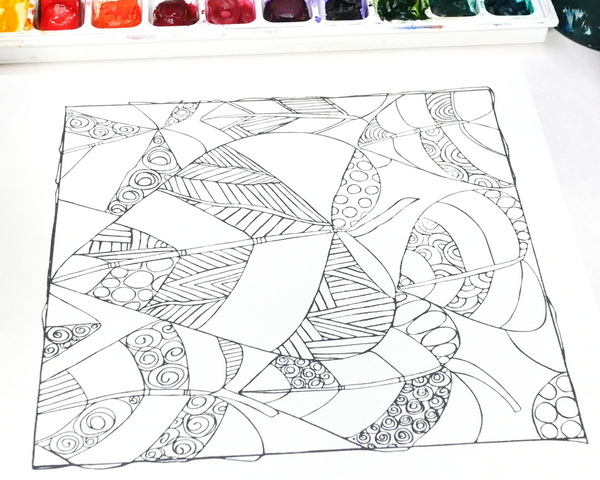
For today’s demonstration, I’ll be using a stamped image for creating this wet-on-wet watercolor piece. The stamp that I am using today is Studio Light Mindful Moodling “Love the Leaves” stamp that I’m using for this project.
Stamp the leaf image onto Strathmore 200 watercolor paper using Ranger Jet Black Archival Ink or any waterproof ink. As the image won’t always transfer perfectly, use a Misti Stamping Platform to help get consistent results.
Let the ink dry fully (it’s usually dry in 5 minutes) before adding any water or paint to the image.
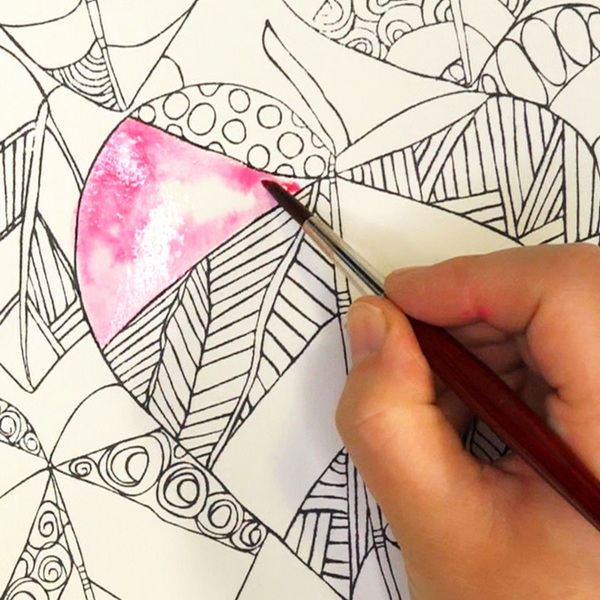
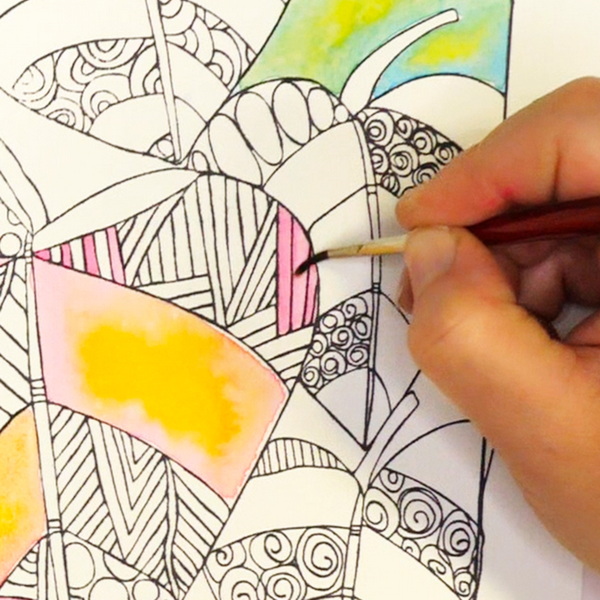
Wet-on-Wet Techniques in Small Areas
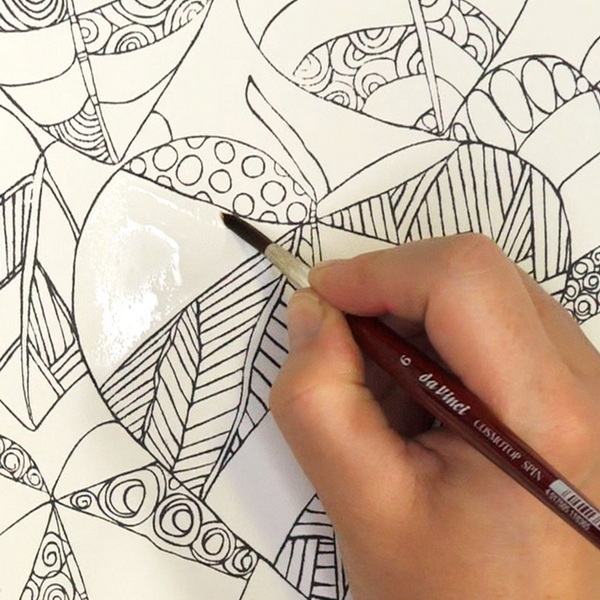
For the best results in small areas, use a watercolor brush (ideally size 4 or 6) to add a layer of clear, clean water to the watercolor paper. Dip into the water several times to get an even and glossy layer of water onto your surface. You don’t want huge amount of ponding and pooling. The water should stay where you put it and it should look glossy and wet on the surface.
For this project, I’m using 3 colors to mix all the colors on this project. This is an easy way to get comfortable with color mixing. Start with Winsor and Newton Cotman Permanent Rose watercolor paint. Mix a bit of it onto your palette with water and drop it onto the watercolor paper that has been prepped with water.
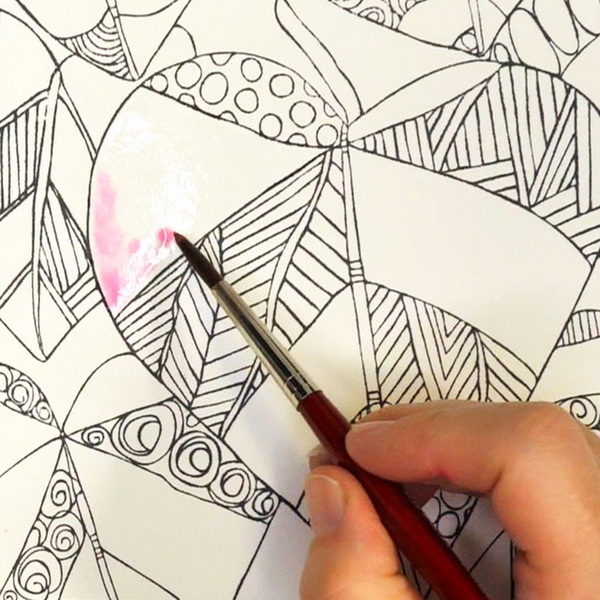
You’ll notice as soon as the paint touches the water, it will bloom and move around the page. Continue to drop in color and carefully move and mix the color until you have the result that you want.
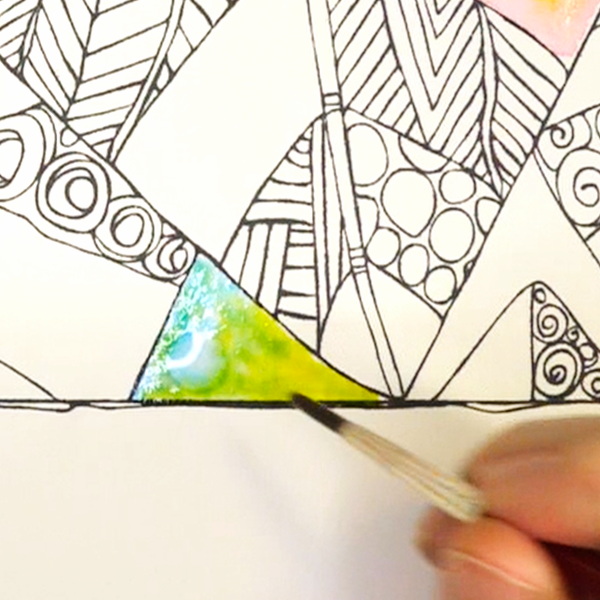
Adding a Second Color
I like adding a second color to the center of the wet Permanent Rose paint. I’m using Mission Lemon Yellow as it creates beautiful peach and orange colors when mixed with the Permanent Rose. Drop in a bit of color to the center and watch it move. You’ll notice that the colors will mingle and mix. How much they mingle will depend on how wet the surface is.
Wet-on-Wet vs. Damp Surfaces
Depending on how much water you have on the paper surface will affect the look of each stroke and how the colors will blend. Experiment with adding a lot of water and see how the two colors will play together. Try adding a little less and see what different results you get.
For some areas of the painting, I added water and then let the paper sit until some of the water had soaked into the paper. The paper is still damp, but not wet. This will give you a very different effect to your watercolor painting. Instead of having a lot of movement to the paint, there will be very little bloom and movement. This gives you an opportunity to create different variations in your colors and blends as you vary the water added to the surface.
Creating Textures
If you want to create textures within your wet-on-wet areas, add your paint to the area and let it sit for a few moments. Take a clean brush with clear water and dab water onto the wet surface. This will lighten the paint, creating blooms and texture. More extreme texture can be added by adding salt to the page and letting it dry. Experiment with this if you’d like to add more texture to your watercolor piece.
Working in Small Areas

When working in very small areas, you may not want to use a wet-on-wet watercolor technique but instead use a wet-on dry watercolor technique. To use a wet-on-dry technique, mix your water and your paint onto a palette and add it directly to the dry paper. This is a great way of having control in small, very detailed areas.
Removing Color
If you find that you add color outside the area that you wanted, or you added too much color down on the surface, this is easy to adjust. Take a clean brush with water and gently dab it onto a paper towel. This will remove most of the water. Pick up the color from the surface and dab it onto the paper towel. Do this several times until you have lightened the surface. While the surface is still wet, you can choose to dab very gently onto the surface with a paper towel to lighten the color further.
Color Mixing
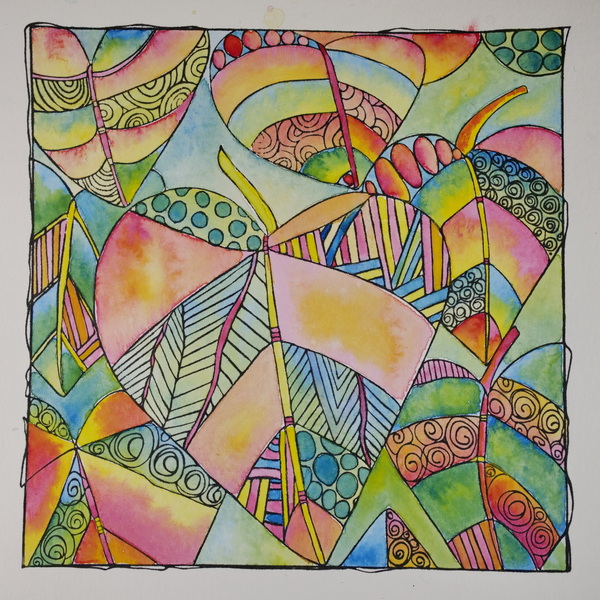
For this project, I used 3 colors: Winsor & Newton Cotman Permanent Rose, Mission Lemon Yellow, and Winsor & Newton Cotman Turquoise. From using these 3 colors together, I was able to create a range of colors on this watercolor project. By experimenting with these colors together, this is a very easy way to start learning how to color mix on your watercolor projects.
Looking for More Inspiration?
I’ve started offering online Zoom classes on Tuesdays from 7-9pm MST. Starting on Tuesday, November 1, I am offering an Introduction to Watercolor Painting. This class will cover materials and basic watercolor techniques in detail. This will include wet-on-wet, wet-on-dry, glazing, and an introduction on how to paint flowers and landscapes. If you’re interested, please see the classes page for more information or fill out the contact form.
Questions?
Any questions about using a wet-on-wet watercolor technique in your projects? I would love to hear your comments and any questions that you may have. I hope that you take time for creative self-care this week!
Project Supply List

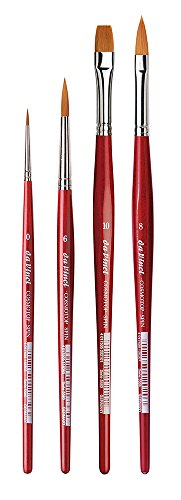
- Versatile brushes for all media
- Long-lasting synthetic filaments
- Lacquered brush handle
- Made by hand in Germany


The Jet Black Archival Ink Pad by Ranger Ink is acid-free, non-toxic, water-resistant, and fade-resistant, and provides lasting results. This ink will not deteriorate paper and does not bleed when inks, paints, or markers are used over it.
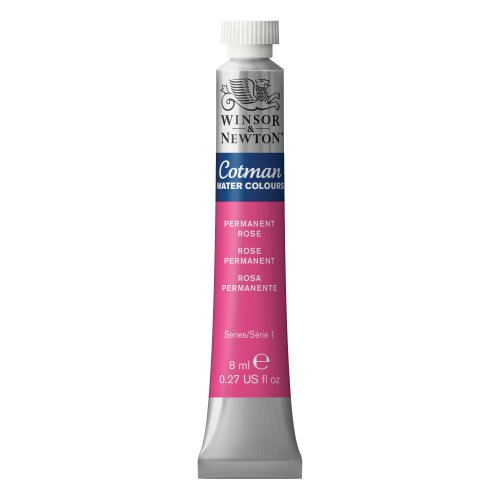

- Quality student-grade range
- Strong tint strength
- Reliable transparency and lightfastness


Perfect for adventurous artists, this water pot expands on site then collapses for transport. It's also easy to clean and store. Ridges around the rim keep brush handles separated and organized while you're painting.

My favorite paper towel to use in my art space, it's durable and strong.