How to Create Vaseline Resist Techniques in Your Art Journal
Are you looking for interesting ways to add and remove layers on your art journal pages? Try this amazing Vaseline resist technique! I love this technique because it’s easy to do and Vaseline is one of the few mediums that will resist acrylic paint. Using Vaseline makes for very interesting effects on any art journal page, and it’s so easy to master!
Hop-A-Long Studio is reader-supported. When you buy through links on our site, we may earn an affiliate commission at no cost to you. Learn more.
Creating a Vaseline Resist
Start with the Background
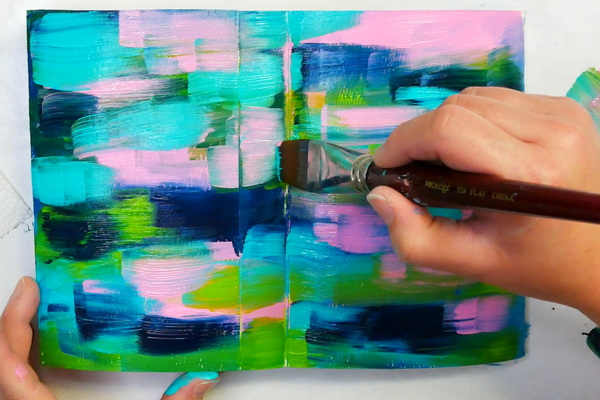
To create a beautiful Vaseline resist, we need to start with a background that will work well with Vaseline. I’m going to keep it simple and add layers of acrylic paint to Canson Watercolor paper in my handmade accordion journal. Start by choosing a few of your favorite colors. I’m limiting my palette to 4 colors: Amsterdam Yellowish Green, Amsterdam Turquoise Green, Amsterdam Quinacridone Rose Light, and Amsterdam Prussian Blue.
Add layers of these colors randomly onto your art journal page. You can make the choice to clean your brush between each color or work wet on wet. I’m using a combination of these two techniques together to create both contrast and blending in this background.
For this technique, I like to use bright and vivid colors for my background. In future steps you’ll see that by using bright colors, this creates a vibrant and interesting resist technique.
Make sure that the acrylic paint on your page is fully dry before moving onto the next step. You can let the page naturally dry, but I like using my Ranger Heat It Craft Tool so that I can move onto the next step sooner. You’ll know the paint is fully dry if you touch the page and it feels room temperature. If it’s cold, add a little more heat to the page to dry it fully.
Other Base Color Options
You don’t necessarily need to use acrylic paint for this first step. Instead, you could create a collage background and work on top of that surface. Another option is to use scrapbooking paper or other decorative paper for this step. The key is that the surface needs to be sealed with some type of acrylic medium before we move onto the next step. If you are using a paper surface, seal it with matte medium or gloss medium, or even a matte or semi-gloss regular gel.
Adding the Vaseline Resist
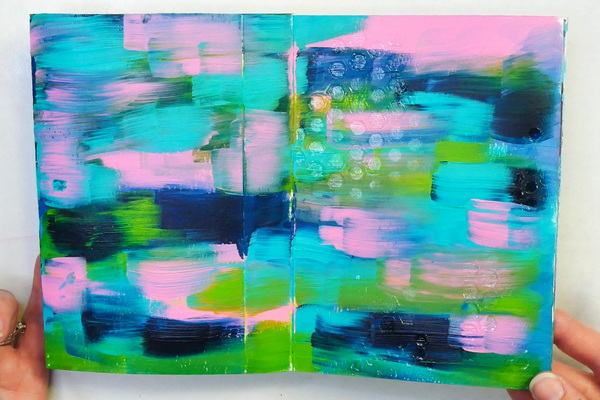
Now we can start adding Vaseline to our page. We can make the choice to use our finger to draw patterns or add small marks to the surface with the Vaseline. But today, I wanted to show you how you can use a stencil to create beautiful designs with this Vaseline resist technique.
Choosing a Stencil
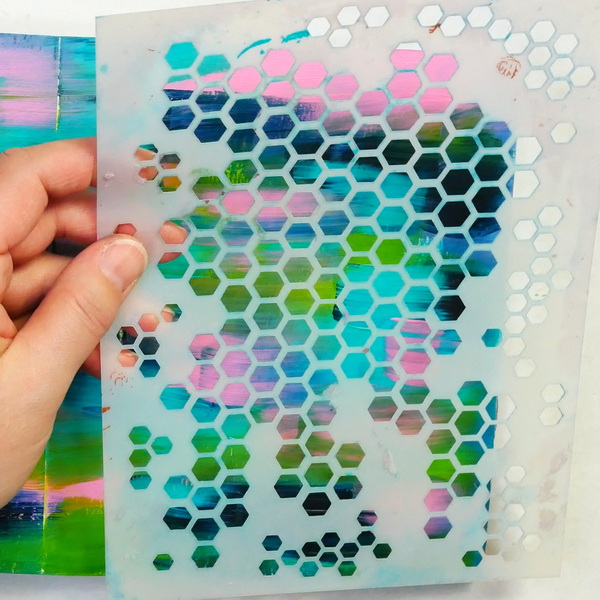
When choosing a stencil for the Vaseline resist technique, make sure that the stencil isn’t super detailed and has large open areas. The nature of the Vaseline resist is to create very loose images. If you choose to use a detailed stencil, it will end up looking like a blob over a clear image.
Today I’m using a honeycomb stencil from Wild Whisper Designs. This is a simple shape that works well for a Vaseline resist. The lines between the hexagons are thicker, which helps create detail, and the spaces are open enough to get a clear image.
Adding Vaseline
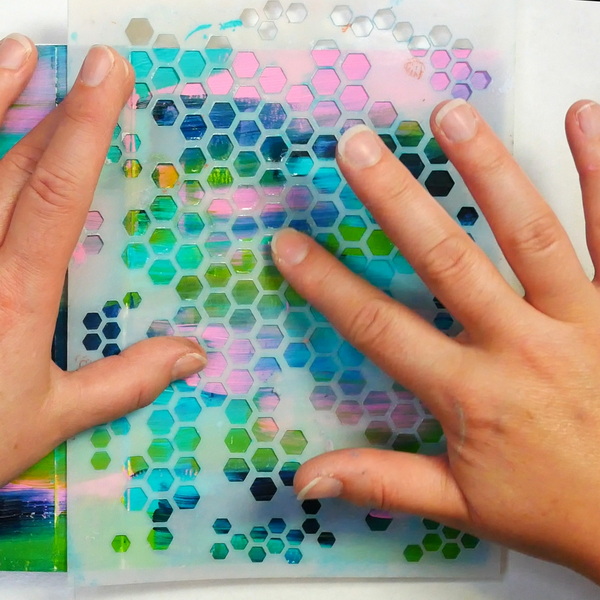
The key to getting good results with this technique isn’t to add huge globs of Vaseline onto the surface. Instead, you want to add enough Vaseline to create a thin layer to cover the surface. It should be shiny and even.
Pick up some Vaseline with your finger and apply it in a circular motion. If you use too much Vaseline or press too hard, it will get under the stencil. It doesn’t require a lot of pressure to get good coverage. You’re just gently sliding your finger over the open areas of the stencil as you apply the Vaseline.
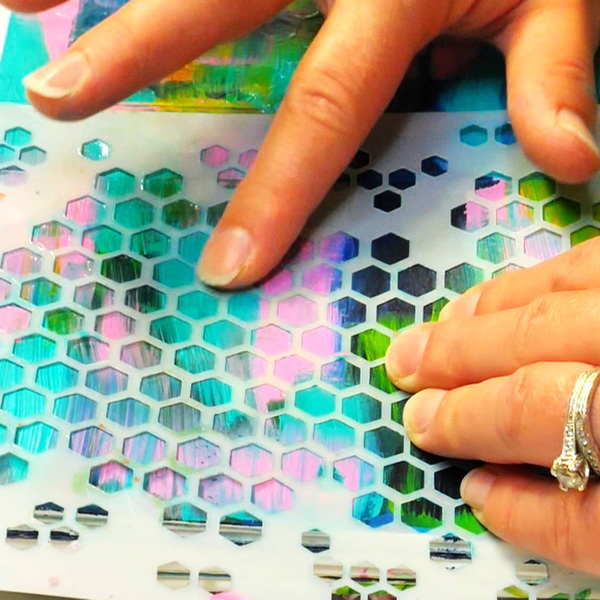
I like to choose 3 to 5 areas on the art journal page to add in Vaseline. I use this technique to highlight areas of the page that will peek through around the solid color. You can make the choice to cover up half the page or more, but I find that it sometimes takes away from the pattern and design. My best results with this technique have been when I have a lot of contrast between the areas with Vaseline and the areas without Vaseline.
Adding in Acrylic Paint
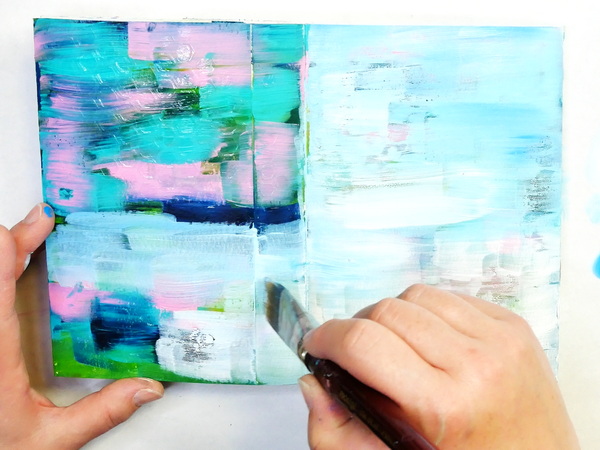
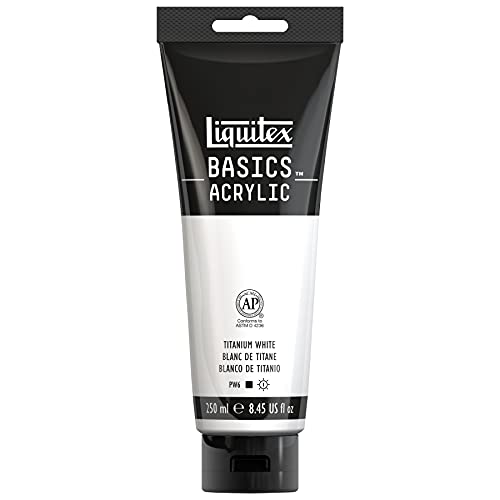
Take your favorite color of contrasting acrylic paint and add an entire layer of paint across the surface. I’m using a combination of Liquitex Basics White Acrylic Paint, Amsterdam Sky Blue Light and Pebeo Cerulean Blue acrylic paint for this step.
For this step I like to choose colors that are a contrast to my base colors. Because I used bright, intense colors on the background, I’m using white and pastel colors for the top layer.
Ideally, if you have fluid acrylic paint, this works best for the resist technique. As I’m using heavy body acrylics for this step, dip your 1” acrylic brush into clean water and mix a bit of the water with your paint before applying it.
The key to this step is having the acrylic paint slide across the surface. If you’ve applied an even layer of Vaseline, it should stay in place and not smudge as you add paint on top. This is why using slightly watered-down heavy body paint or fluid paint is best for this step. As you apply color, you should notice areas where the Vaseline is resisting the acrylic paint.
Apply the paint wet on wet to the page, mixing the colors together to create a soft, blended surface. Let your paint air dry or heat set the paint slightly. At this point, you don’t want your paint fully dry. You want it cured enough that the paint doesn’t smear, but if it is still slightly cold, this is perfect. This will make the next step of the process much easier.
Removing Acrylic Paint and Vaseline
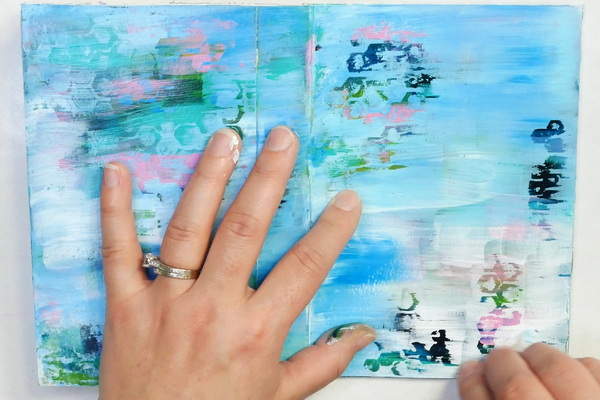
Using a paper towel, start gently scrubbing the surface. Any areas with the Vaseline, both the paint and Vaseline should lift from the surface revealing the background layer of color. Continue to do this across the entire project, gently removing the paint and Vaseline from the surface.
If some of your paint has fully dried, it might be a bit harder to pull up. This is where I like to use a baby wipe to scrub the surface gently and pull up the Vaseline and acrylic paint.
You’ll notice that in some areas you have more detailed images and other areas spots with less detail. This is the nature of this technique. I learned early on in my experimentation to stay away from detailed images, it just doesn’t work well for this technique. But you should be able to get some interesting pattern, texture, and color from this Vaseline resist technique.
Adding Additional Layers
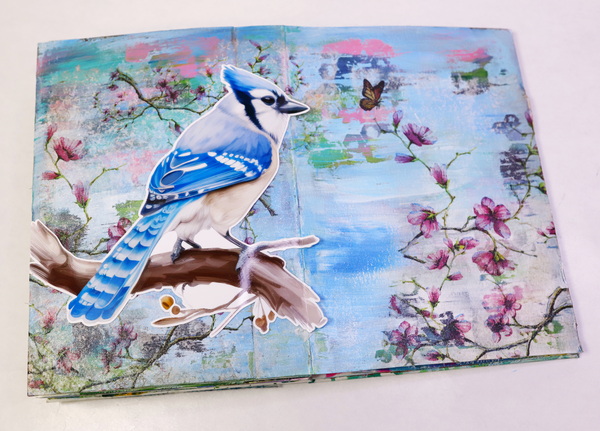
At this point you can choose to leave the page as is, but I love to add additional layers. To finish off this project I’ll be using a combination of napkins, glazes, and ephemera.
Adding Napkins
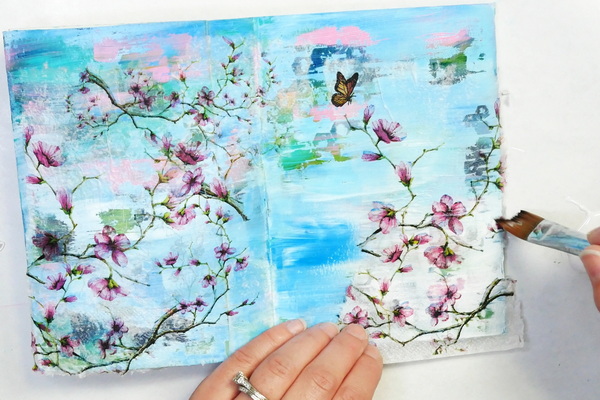
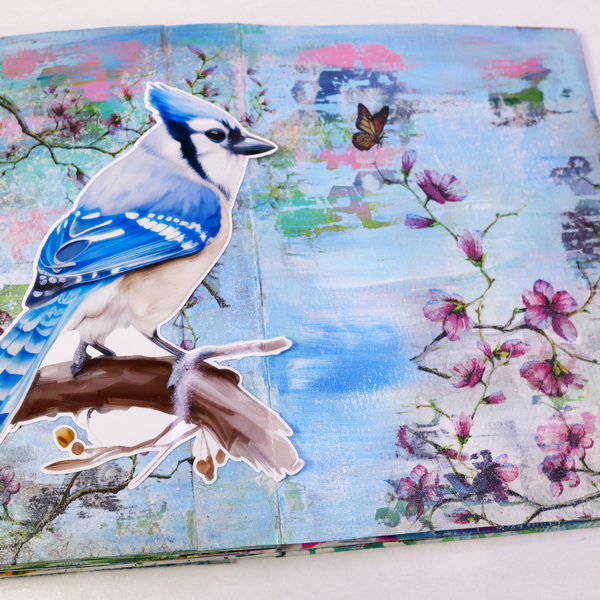
As amazing as this background is, I wanted to add in another layer of design before adding in my focal image. Napkins are the perfect choice because they are a bit translucent, so they don’t completely cover up the background. I chose a napkin with branches and flowers that would complement my focal image.
You can either tear up your napkin or use a clean brush and water to soften the areas that you want to pull apart. Arrange the napkin sections and use matte medium to adhere them onto the page.
As I’ve done several art journal videos focusing on napkin techniques, check out these videos for detailed tutorials about using napkins in your art journal.
- Art Journaling with Napkins
- New to Art Journaling? Basic Techniques Using Paints and Napkins
- My Napkin Art is Disappearing! 3 Easy Ways to Recover Images
Adding in Acrylic Glazes
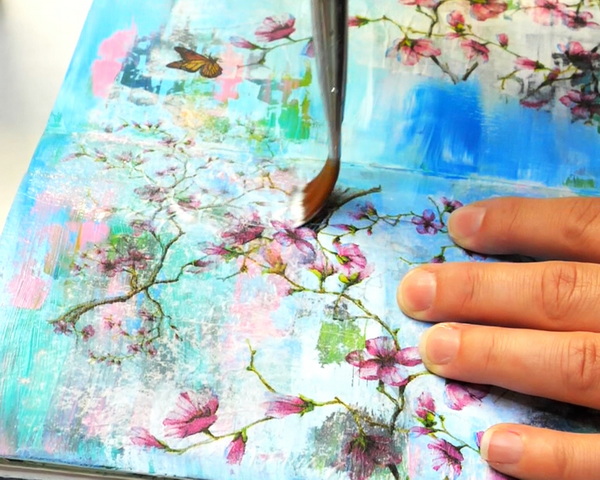
I found that as my napkin dried, some white areas of the napkin had more contrast than I expected. I don’t mind the difference in texture, but it showed up more than I expected.
To hide this and to create more harmony on the page, I used Liquitex Iridescent medium. This shimmery medium creates a lot of shine but dries clear. As the Iridescent medium is so glimmery, I made the choice to water down the medium to a glaze consistency and add it across the entire page. I love the effect and how it brings all the page elements together to create cohesion.
Adding India Inks to Iridescent Medium
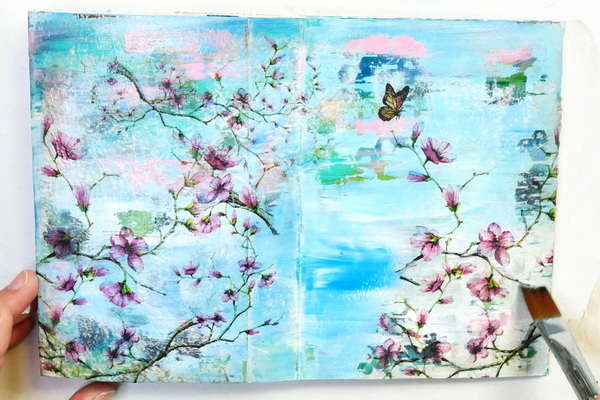
I sometimes like to add a bit of aging to my art journal pages. To do this, add a in a drop of Dr. Ph. Martin’s Sepia India Ink to a small amount of iridescent medium. Add this around the edges of the page. This not only draws the eye inward by creating a vignette, but it also highlights the beautiful texture of the acrylic paints and napkins.
Adding the Focal Image
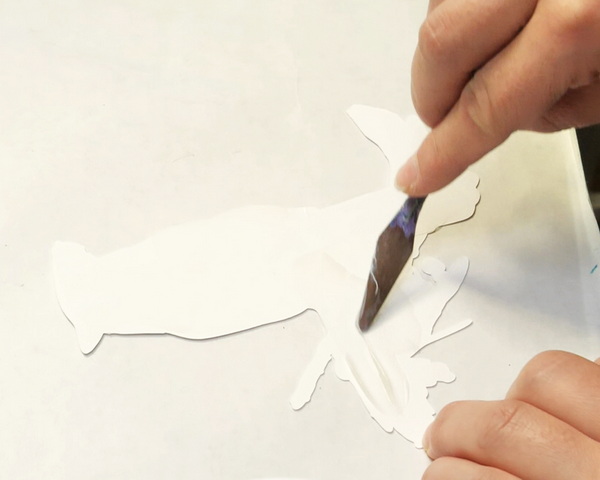
The last thing is to add my blue jay focal image to the page. I frequently use the XL Ephemera from Simply Stated Design as it is the right scale to work in many of my journal pages. As much as I love drawing, sometimes I just want to use color images that are ready to go. I’ve been looking for an opportunity to use this Blue Jay on one of my art journal projects.
To add the image, I chose to use a new product I’ve been experimenting with lately: Yes Paste (also known as Yes Stick Flat Glue). This was recently recommended to me by a professional collage artist, and this glue works incredibly well. It has great hold, is easy to use, and a little of it goes a very long way. Using a palette knife, apply a small amount to the back of the image and adhere to the art journal page.
At this point you can choose to add journaling or leave your page as is. I don’t always start with a strong theme for a page. Sometimes it’s the art that inspires me and weeks or months later I’ll find the right words to add to the page.
Questions?
Any questions about this Vaseline resist technique? I would love to know if you’ve ever tried anything like this before. Leave a comment below, I’d love to start a conversation with you!
Project Supply List
Designed to appeal to students, Canson XL pads contain more sheets at a comparable or better price than other value pads in the marketplace.
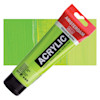
Amsterdam – Yellowish Green, 120 ml Tube
from: Blick Art Materials
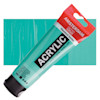
Amsterdam – Turquoise Green, 120 ml Tube
from: Blick Art Materials
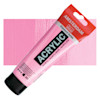
Amsterdam – Quinacridone Rose Light, 120 ml Tube
from: Blick Art Materials

Amsterdam – Prussian Blue, 120 ml Tube
from: Blick Art Materials

Amsterdam – Sky Blue Light, 120 ml Tube
from: Blick Art Materials
Pebeo High Viscosity Studio Acrylic Paints are the ultimate mixed media acrylic! Vivid, deep, and richly pigmented, it offers very good lightfastness and permanence.
Liquitex Basics Acrylic Colors were developed for students and artists who require dependable quality at an economical price. Each color is uniquely formulated to bring out the maximum brilliance and clarity of the individual pigment.
Vaseline Petroleum Jelly Original is clinically proven to help heal dry, damaged skin. It is also perfect for your next mixed media project!
A quick and easy way to melt embossing powder this heating tool was specifically design for speed quiet and convenience. It can also be used to heat set or dry ink. It won't overheat and burn projects.
Creates a matte, non-reflecting finish when added to acrylic colors. Lightweight, non-toxic; Opaque when wet, translucent when dry. Intermixable with Liquitex Professional Acrylic Paint Colors and Mediums
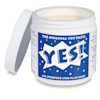
Yes Stikflat Glue – Pint
from: Blick Art Materials
Dr. Ph. Martin's Bombay India inks offer powerful color in a convenient dropper-stopper glass bottle. These highly pigmented India inks not only remain lightfast and permanent but are also totally waterproof when dry.
You're going to feel just like an expert when you're cutting the smallest of details with the Cutter Bee Scissors by EK Success. These un"bee"lievable compact scissors will have you feeling like a queen bee when you swarm right into your fine detail or fussy cutting projects.
My favorite paper towel to use in my art space, it's durable and strong.


