Neurographic Art with Pan Pastels
If you haven’t tried neurographic art, this is a great self-care exercise for your creative practice. I was recently introduced to neurographic art by a subscriber on my YouTube channel and wanted to show you how to do this easy technique using blendable Pan Pastels.
Hop-A-Long Studio is reader-supported. When you buy through links on our site, we may earn an affiliate commission at no cost to you. Learn more.
If you are new to art journaling or a creative practice, knowing where to start can be half the challenge. The beauty of neurographic art is that you don’t have to have art experience to enjoy this technique. It is meant to be free flowing and unplanned. This allows you to focus more on how you feel throughout the process instead of worrying about the specific art techniques.
What is Neurographic Art
Neurographic art was created by the Russian psychologist Pavel Piskarev in 2014. His belief was the methods and technique behind neurographic art could creatively transform the world. The intent of this technique is to move us from left brain to right brain thinking. This moves us from the analytical mindset to the creative. Most importantly, this technique is meant to help us move from the conscious to the unconscious.
Neurography is a way for us to process our feelings. Whether that is stress, fear, anxiety, frustration, or any other emotion. It is an outlet for us to be able to work through these emotions and move to a place of mindfulness and calm. Sometimes it can take us a while to work through feelings. The slow and meditative practice of neurographic art can help us in this process.
No Experience Required
Neurographic art does not require art experience or drawing skills. It is meant to be free form and abstract. This is not a practice focused on the outcome, it is about what you experience as you create. But through this process, you can still create a beautiful piece of art and find creative self-expression.
Neurographic Art Process
Intuitive Line Drawing
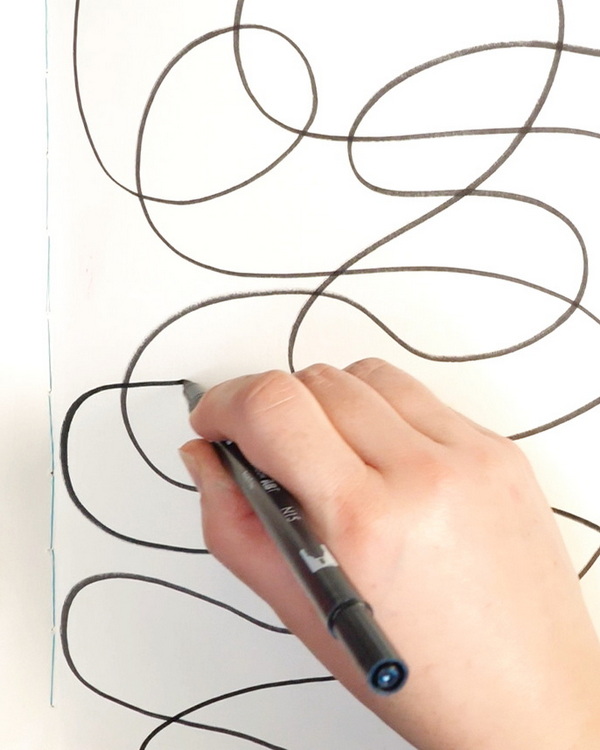
Start with a blank sheet of paper and a marker or pen. Make sure to use a permanent pen for this step to prevent bleeding or smudging of your image. To see a review of my favorite permanent pens, click here.
Pause for a moment to think about what you are feeling at the present time. Is there something that is causing you stress? Is there a situation that you are trying to work through? Whatever this emotion is, think of it and start drawing lines on your surface.
You can create any sort of line, but most neurographic art is created using long, flowing, swooping lines. Some will go off the page, others will loop around on the page. The intention is to add multiple lines and purposely crossing and overlapping these lines.
When I am creating my line drawing, I try to think about how I would express my emotion as a mark on the page. This is a great way for intuitive self-expression to come through in your drawing.
Softening and Adding to the Lines
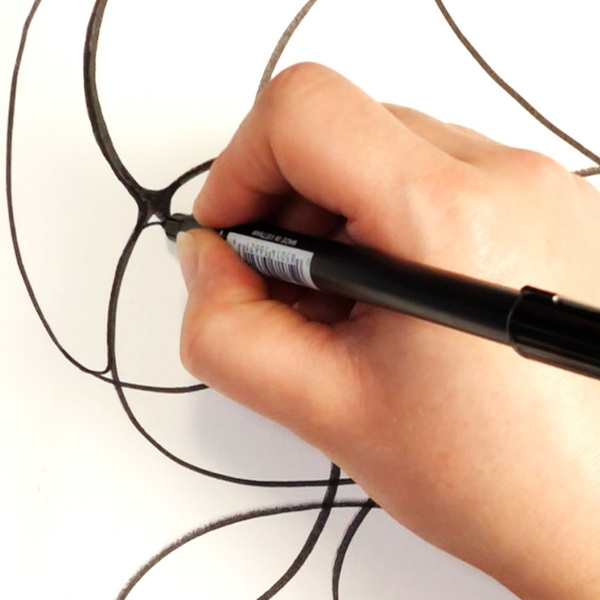
At every line intersection, add new marker lines to create curves and soft edges. This will make all the lines in your drawing softer and the shapes more elliptical. Depending on what you would like to express in your drawing, you could also choose to leave sharper lines. This is fully dependent on how you want to work through this process.
I have seen examples of neurographic art where circles and other shapes have been added to turn the line drawings into a less abstract exercise. This is a personal preference. Depending on what you want to achieve from this exercise, you can add whatever shapes are appealing to you.
Adding Color
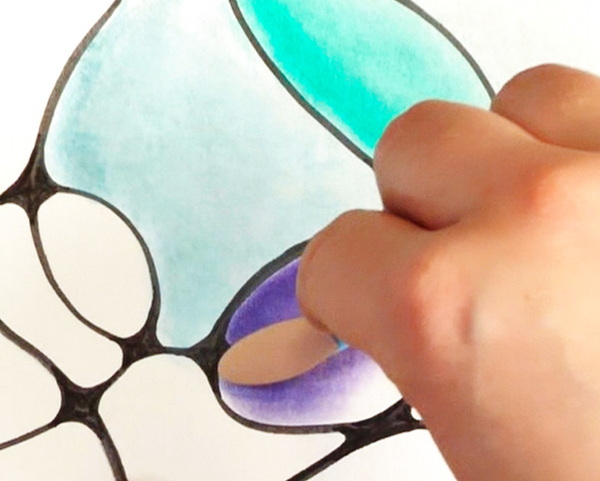
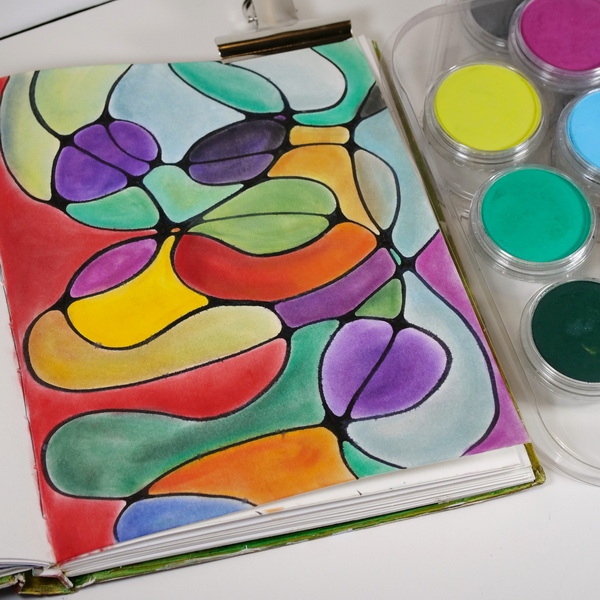
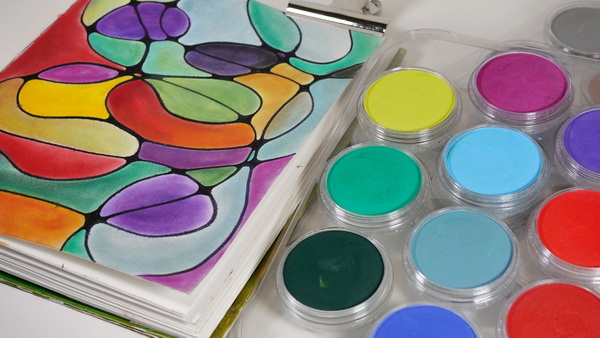
Start adding color to the shapes using your favorite medium. This could be anything from markers or colored pencils to watercolors, acrylic paints, or Pan Pastels. For today’s exercise, I chose to use Pan Pastels as they blend beautifully together for colorful and subtle custom blends on the project.
When adding color to the shapes, the intent is for this to be a slow, methodical, and mindful exercise. You can choose colors that can reflect the feelings that you have in the moment. You could also choose a limited palette to prevent feeling overwhelmed by color choice. The sky is the limit for how you can choose to add these colors to your project.
Blending Pan Pastels
I chose to add larger areas of color overlapping multiple lines on my project. This will be my first layer of pastel and I will continue to add other colors overtop. This is a way to learn which Pan Pastel colors blend well together to create beautiful color mixes.
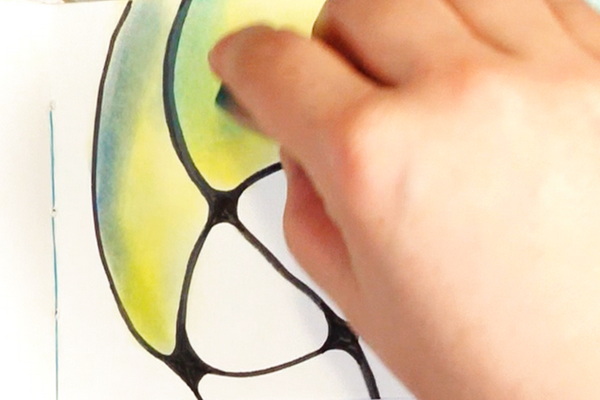
Pan Pastel Colorless Blender
When working with Pan Pastels on white paper, I prefer to use Pan Pastel with a colorless blender. The Pan Pastel Colorless Blender is a new product that I have recently added to my pastel practice.
The colorless blender works like an extender. When you add colorless blender to colored Pan Pastels, it blends out to a smooth finish. This allows for soft and subtle blends that create a consistent look.
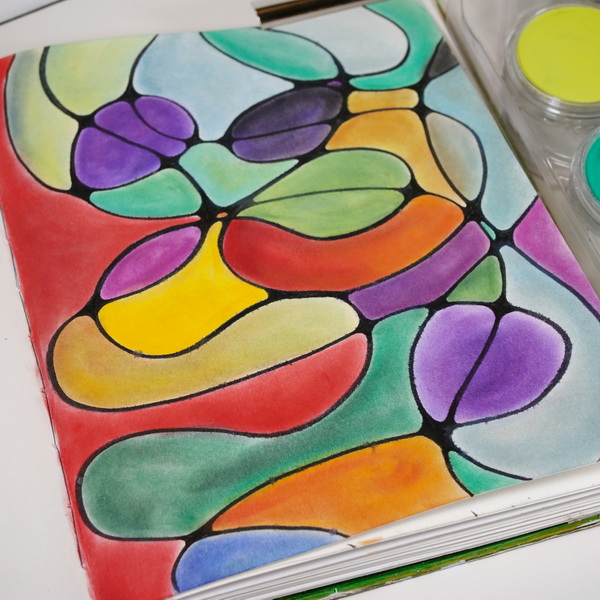
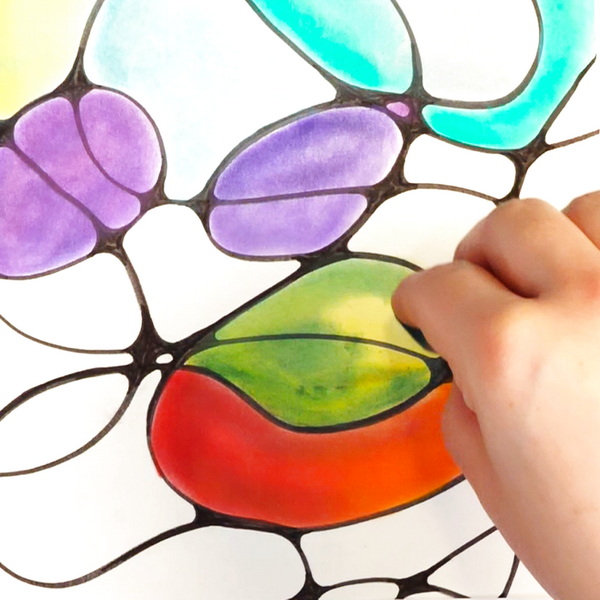
Adding Additional Layers of Pan Pastel
After adding my first layer of Pan Pastels, I added a second layer with a complementary color. The color wheel is very useful for understanding which colors work together.
For green areas, I might add blue or yellow blends to create new hues. If my base color is red, I will add blue or yellow to create variation. You can create highlights with contrasting or complementary colors depending on the look you want.
The intention with neurographic art is not to plan. Just go with the flow and add your favorite colors to your project. Some artists spend more time planning their colors and design for these pieces. But for this project, the intention was to follow an intuitive, mindful process that will help you work through thoughts and emotions.
Neurographic Art and Self-Care
This is a very calming and relaxing mindfulness exercise that can help you add some self-care in your creative practice. Not every project needs to have a point or an outcome, sometimes the process itself is enough.
The benefit of this practice (in addition to reducing stress) is by working with your art mediums and figuring out your favorite color blends, this can help you understand color blending better. If you are looking for another relaxing blending exercise, check out this article where I use watercolor paints for creating large and fluid shapes on an art journal project.
Questions?
What do you think of this neurographic art technique? Do you have any questions about the process? I would encourage you to give this project a try. I have found this project so enjoyable and calming and I hope that you learn something through the process.
If you have any questions or comments, please leave a comment below. I hope that you have a wonderful week and take time for some personal self-care.
Project Supply List
- Strathmore 200 Watercolor Paper
- Zebra Zensations Black Permanent Pen
- Sofft Blending Tool & Covers
- Sofft Blending Sponges
- Pan Pastels: 620.1 Phthalo Green Ex. Dark, 620.5 Phthalo Green, 680.5 Bright Yellow Green, 430.5 Magenta, 580.5 Turquoise, 580.3 Turquoise Shade, 520.3 Ultramarine Blue Shade, 470.5 Violet, 340.5 Permanent Red, 340.3 Permanent Red Shade, 921.5 Pewter, 740.5 Burnt Sienna, 250.5 Diarylide Yellow, 220.5 Hansa Yellow, 010 Colorless Blender, 012 White Coarse Pearl Medium, 014 Black Coarse Pearl Medium
- SpectraFix Pastel Fixative
- Caran d’Ache Eraser