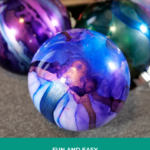
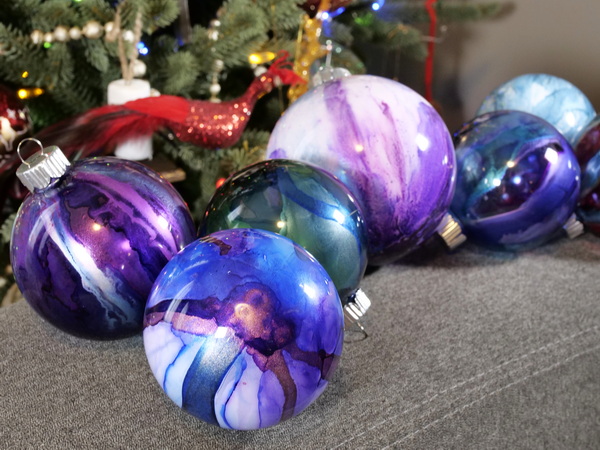
Fun and Easy Alcohol Ink Christmas Ornaments
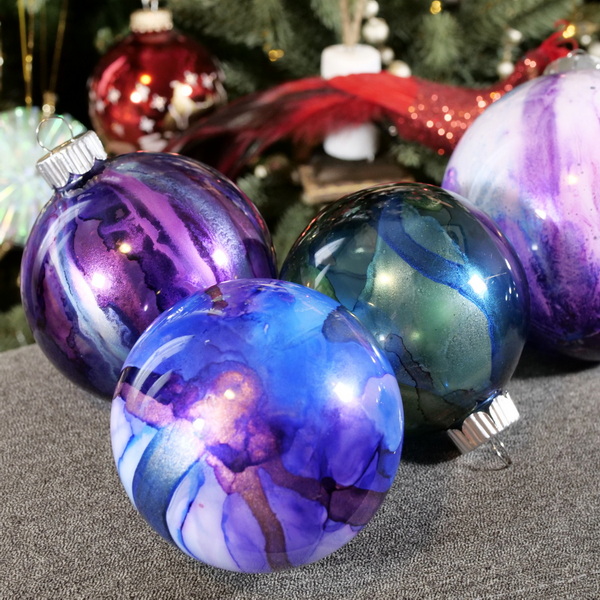
One of my favorite things to do during the holiday season is to stretch my creativity. This year my new creative challenge is to create alcohol ink Christmas ornaments using clear plastic and glass bulbs. Over the last week I’ve been playing around with this technique with a variety of results.
Hop-A-Long Studio is reader-supported. When you buy through links on our site, we may earn an affiliate commission at no cost to you. Learn more.
Learning New Techniques
I love learning new techniques or different ways to use products that I already own, like alcohol inks. I enjoy the challenge of figuring out how to make it work and I love the process of learning. But I find sometimes my expectations don’t meet with reality when I’m first learning something new.
With this project, the first few alcohol ink Christmas ornaments I made did not go according to plan. I added alcohol inks and left them to dry, thinking that they would dry quickly, and the design would not change. I came back next day with a mess. The alcohol ink moved before the ornaments were completely dry, so I ended up with pools of ink in the bottom of each bulb. I was so disappointed!
But I chose not to give up. I continued to work on this technique until I figured out how to get beautiful alcohol ink Christmas ornaments.
In the tutorial today I will be sharing with you not only how to colorize these ornaments, but also what I learned to get good results with this technique. I hope that this tutorial will help shorten the learning curve and help you get great results with this project!
Alcohol Ink Christmas Ornaments
Step 1: Choosing and Disassembling Ornaments
Start with choosing the ornaments that you will alter. I used both glass and plastic clear ornaments for this project.
I prefer the glass ornaments over the plastic ones due to manufacturing quality. The plastic ornaments tend to have a seam along the bulb. They also tend to have more imperfections on the surface of the bulbs.
The glass bulbs I found the quality of the ornaments more consistent, so they are my preferred ornament. Both glass and plastic bulbs will handle alcohol ink very similarly, so what type of ornament you choose is a personal choice.
Take the silver hanger out of the ornaments. You can do this by pressing the wires together gently and removing them carefully from the ornament.
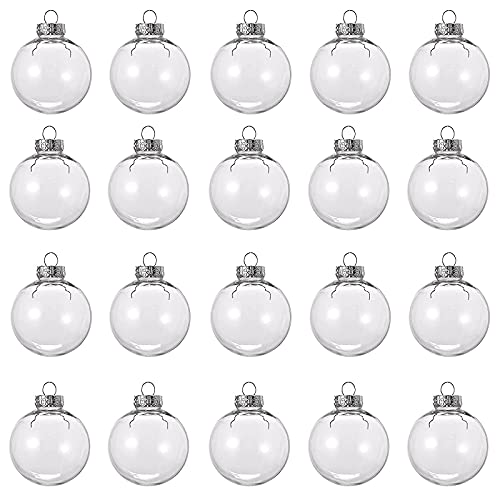
20 pcs clear plastic ball, each decorative ball is packed separately. Comes with a detachable silver lid and a silver string. Each ball has a diameter of 60 mm (2.36 inches)

These clear ornaments balls are perfect for any DIY enthusiast looking to add a personal touch to their holiday decorations. Made from heavy-duty glass, they are durable and easy to handle. With a 3.15-inch wide body and 0.75-inch opening, they allow you to fill them with fun items like candy, glitter, or even miniature scenes.
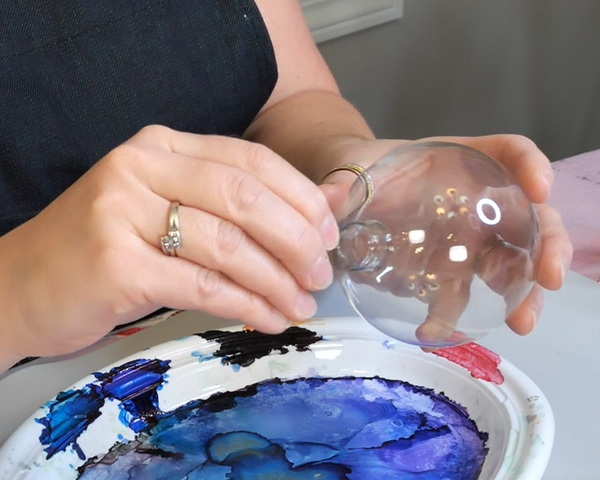
Step 2: Adding Alcohol Ink to the Ornaments
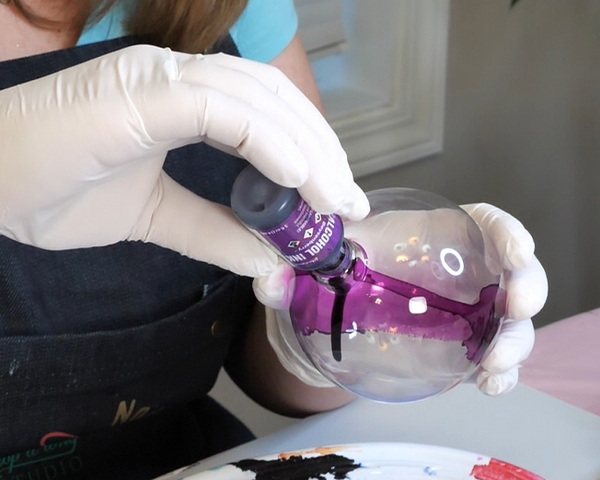
Start by adding alcohol ink to the inside of the ornament one drop at a time. You want to use as little ink as possible as this will improve drying time. I would suggest using more intense colors for the ornaments as they will show up better on the ornament.
If you want the ink to move more quickly or be a lighter hue, add a few drops of 99% alcohol to the ink.
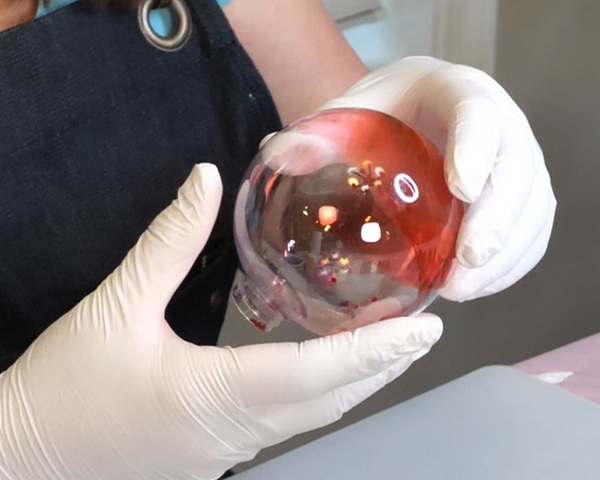
The key to a beautiful alcohol ink Christmas ornament is adding a little bit of ink at a time. With each drop of color added, the color will move and spread across the glass. By moving or turning the ornament, you can create stripes, large areas of color or marbling. The final look of the ornament depends on how much ink you add and how many layers you create.

Add a majestic and royal feel to all that you create with the Indigo Violet Spectrum Alcohol Inks by Tim Holtz for Ranger Ink. The inks are acid-free, fast-drying dye inks that are formulated to create colorful effects when layered together on non-porous surfaces.
These vibrant inks create a polished stone look when used on glass, metal, foil, dominoes, glossy paper or other slick surfaces. They are permanent, fast-drying, transparent, and acid-free. They feature a precision tip.
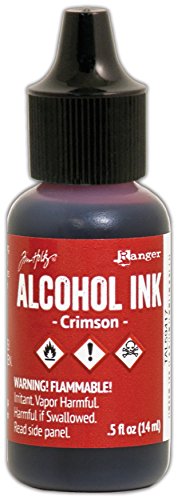
Acid free, fade resistant, fast drying transparent inks specially formulated to create a colorful polished stone effect. Ideal for multiple surfaces including glossy paper metal shrink plastic glass and more. Easy to use precision top bottles.

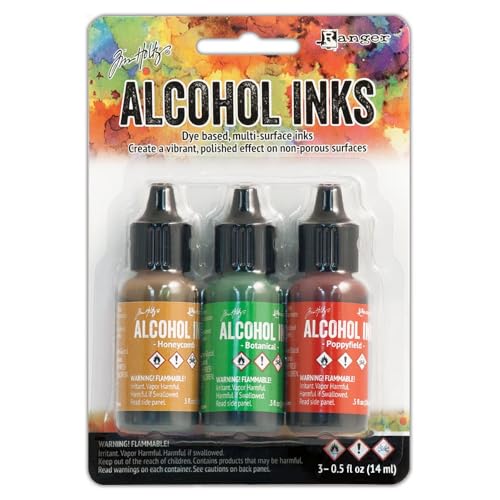
Create pearlescent, colorful effects on non-porous surfaces. This 3.75 x 5.5 inch package contains three bottles of dye based, multi-surface of ink.

Create pearlescent, colorful effects on non-porous surfaces. This 3.75 x 5.5 inch package contains three bottles of dye based, multi-surface of ink.
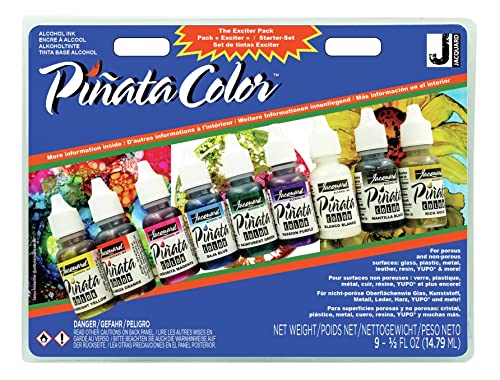
Jacquard’s Pinata Color Alcohol Inks turn any non-porous surface into an art canvas. These highly-pigmented Pinata Colors are sure to spark your creativity into new heights.
Alcohol Ink Tricks and Tips
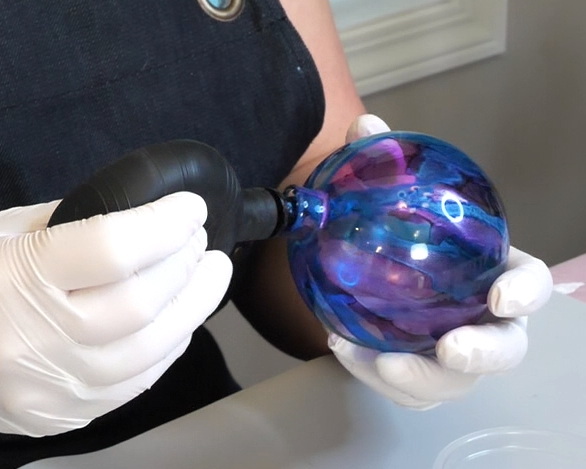
To keep the colors distinct and to prevent from losing pattern or intensity of color, dry between each layer. You can dry with an air blower bulb (which are often used for cleaning camera lenses), canned air or very carefully with a heat gun. Be careful when using a heat gun as you can melt the plastic ornaments. I tend to stick to canned air or the photo bulb to prevent cooking the ink or melting the ornament.
If you choose not to dry between layers, this will affect the final result. It takes alcohol ink more time to dry in the ornament compared to on Yupo or other surfaces. If the ink isn’t dry enough, gravity will cause the ink to slide down the side of the ornament.
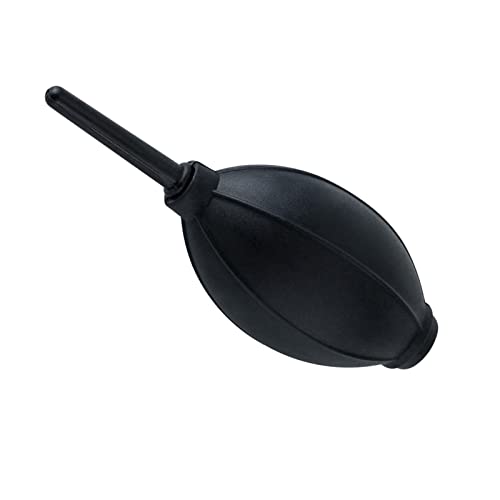
Our dust-free air blower is perfect for cleaning. The silicone air bag is soft, comfortable to your skin and for holding.
My Experience with Wet Alcohol Inks
The first time I tried this project, I did not dry the ink as I was working on the design. I left the ornaments to air dry. By the next morning, my ornaments had a big pool of ink the bottom of each ornament. There was faint color left on the sides of the ornament, but most of the ink had pooled in the bottom. I chose to pour out the ink, cleaning out the ornament as best I could with 99% alcohol and tried again. One of the ornaments I left to dry with the pool of ink in the bottom. A week later it still had not fully dried.
For the sake of good results and less frustration, dry at least partially between coats to get a better result. I would suggest leaving the bulbs for at least 24 hours to dry before moving onto the next step.

Step 3: Adding White Paint to the Ornament
If you want the alcohol ink Christmas ornaments to be translucent so that you can see light through them, only use alcohol ink to colorize the ornaments. If you would like to make the ornaments opaque, which helps bring out the subtle colors of alcohol ink, add white paint to the inside of the ornament.
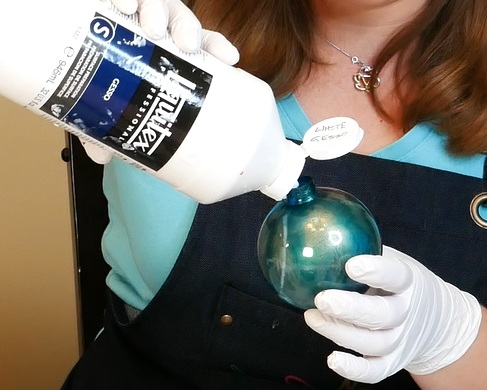
Start by pouring a bit of white paint into the ornament and swirl around. If the paint is too thick, add a bit of water and keep swirling until the inside of the ornament is fully covered. From the outside of the ornament, you should be able to see what areas are translucent and which are opaque. Leave the ornament upside down to let any additional paint flow out of the bulb.
The Best Paint to Use
The best paint to use for this step is not actually paint, but gesso. White gesso has great consistency and is meant to prime surfaces for painting. Gesso is meant for slicker surfaces, so it works better than some paints for this step. If you find your gesso a bit thick, add a bit of water to help it flow. It seems to stick better to the surfaces, and you should have fewer pooling issues.

A ready-mixed painting ground, Liquitex Acrylic Gesso primes surfaces and adds the right level of tooth for optimum color stability, adhesion, and absorbency.
You can also use white or silver paint for this step, but I find the gesso creates a more consistent finish. I tried using silver acrylic spray paint for this step, but it would not stick to the sides of the ornament. Not all paint will react the same way, which is why gesso is my preferred option.
Questions?
Any questions about this project and the techniques? I know that it is more effort to dry between layers but is definitely worth it! I would love to see your projects or hear any comments you have about this project. You can comment below or contact me directly. I hope that you take time to create beautiful Christmas projects as part of your self-care routine this season!

Project Supply List
Jacquard’s Pinata Color Alcohol Inks turn any non-porous surface into an art canvas. These highly-pigmented Pinata Colors are sure to spark your creativity into new heights.

For alcohol ink projects, 99% isopropyl alcohol will give you the best results every time!
These clear ornaments balls are perfect for any DIY enthusiast looking to add a personal touch to their holiday decorations. Made from heavy-duty glass, they are durable and easy to handle. With a 3.15-inch wide body and 0.75-inch opening, they allow you to fill them with fun items like candy, glitter, or even miniature scenes.
20 pcs clear plastic ball, each decorative ball is packed separately. Comes with a detachable silver lid and a silver string. Each ball has a diameter of 60 mm (2.36 inches)
Add a majestic and royal feel to all that you create with the Indigo Violet Spectrum Alcohol Inks by Tim Holtz for Ranger Ink. The inks are acid-free, fast-drying dye inks that are formulated to create colorful effects when layered together on non-porous surfaces.
Create pearlescent, colorful effects on non-porous surfaces. This 3.75 x 5.5 inch package contains three bottles of dye based, multi-surface of ink.
These vibrant inks create a polished stone look when used on glass, metal, foil, dominoes, glossy paper or other slick surfaces. They are permanent, fast-drying, transparent, and acid-free. They feature a precision tip.
Acid free, fade resistant, fast drying transparent inks specially formulated to create a colorful polished stone effect. Ideal for multiple surfaces including glossy paper metal shrink plastic glass and more. Easy to use precision top bottles.

Gold Metallic Mixatives are luminous, fast drying, acid free inks, specially formulated to create metallic highlights when combined with Alcohol Inks. Use them on all non-porous surfaces such as light or dark gloss paper, dominoes, and other slick surfaces.
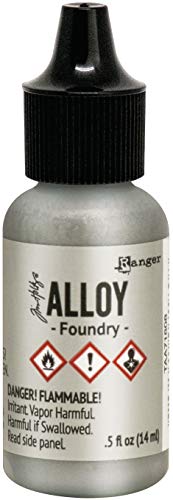
Here's the highlights of all highlights for your mixed media projects! The Foundry Alloys Alcohol Ink by Tim Holtz for Ranger Ink is specially formulated with unique metal powders to create intense metallic highlights when you combine it with Alcohol Inks and Alcohol Blending Solution on non-porous surfaces.

Incredibly flexible, Golden High Flow Acrylics have an ink-like consistency that lends itself to a wide range of techniques — painting, pouring, drawing, staining, glazing, inking, hand lettering, spraying, and more.
A ready-mixed painting ground, Liquitex Acrylic Gesso primes surfaces and adds the right level of tooth for optimum color stability, adhesion, and absorbency.
Our dust-free air blower is perfect for cleaning. The silicone air bag is soft, comfortable to your skin and for holding.