Easy Foil Alternatives for Cards and Art Journal Pages
Looking for foil alternatives for cards and art journal pages? There are household products that can work amazing on your art journal and card projects, at a fraction of the cost of craft foiling sheets. These techniques are a must know for any creative. Today we’ll go over a few different materials, the positive and negatives of each, and how you can add them to your creative projects.
Hop-A-Long Studio is reader-supported. When you buy through links on our site, we may earn an affiliate commission at no cost to you. Learn more.
Alternatives to Foil Cardstock

Foil cardstock is an amazing option for creating mirrored surfaces, beautiful sentiments, and details in your art journal and card projects. There are many types of foil available, but the cost of these materials can add up quickly. Here are my two favorite foil alternatives to crafting foils that can be found in any hardware or grocery store.
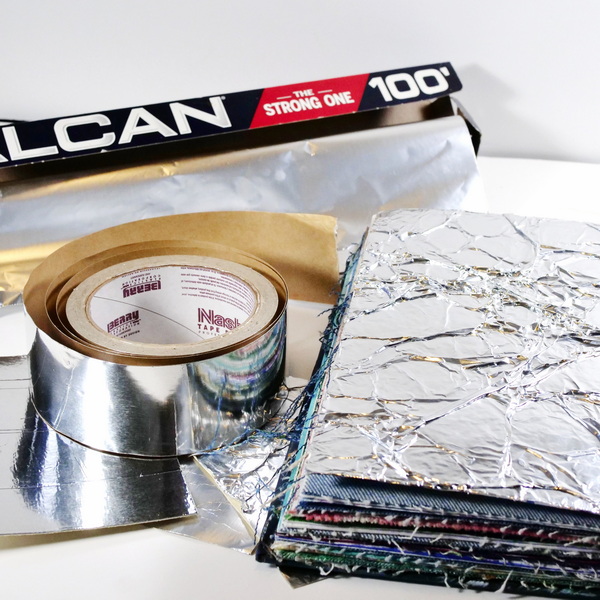
Foil Ducting Tape
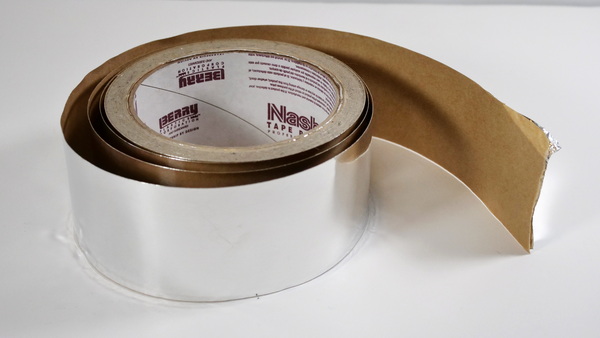
I have been using foil ducting tape on my creative projects for years. This tape is used for sealing ducts in houses. With the shiny surface and sticky back to this tape, this makes it perfect for creative projects. Foil ducting tape comes in rolls that are several hundred feet in length, and several inches wide. This makes it a very economical choice for foiling.
Aluminum Foil
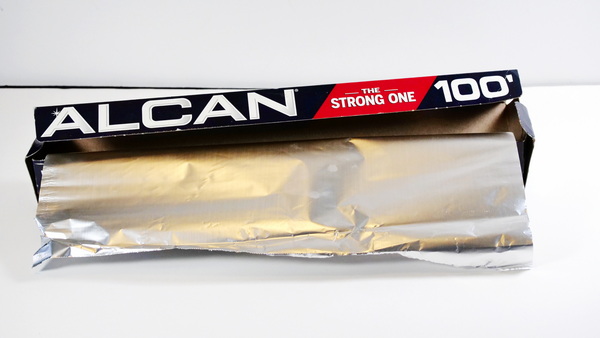
Aluminum foil is a great choice because it’s readily available. Most of us have a roll of aluminum foil in our kitchen. Aluminum foil is versatile because you have the option of a dull and a shiny side. Because of the width of these rolls, this gives you a larger piece of foil to work with when covering your project.
How to Apply These Foil Alternatives
Applying Foil Tape
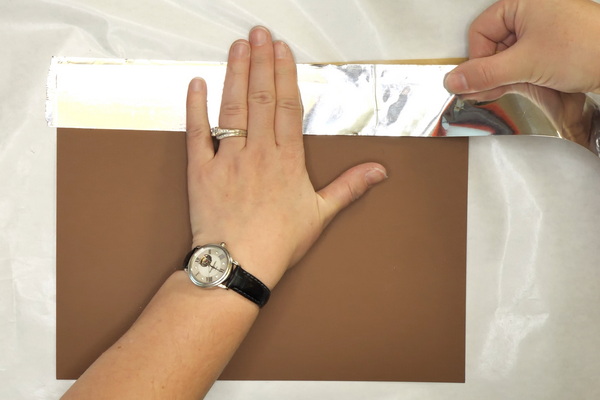
When applying foil tape to your project, be aware that the adhesive on the back of the tape is extremely strong. For best results, I add the foil tape to a piece of paper and then cut out or emboss the image.
Why you should add the foil tape to paper is because the sticky foil tape can be hard to manage once the backing is removed from it. I have mangled and torn images before when just using foil tape. The paper gives the foil tape strength and shape which makes it easier to manage.
Add strips of foil tape to your paper. You may get some bumps when applying it to the surface. I tend to remove the backing one section at a time and stretch out the foil to prevent wrinkles. It may take some practice to get a good application of the foil considering how sticky the tape is. The nice thing is that you can usually rub out the worst of the wrinkles. After you’re done altering your piece, you generally won’t notice any small wrinkles.
Pros and Cons of Foil Tape
The foil tape is inexpensive and easy to apply. But the downside of this medium is the width of the foil. This foil is perfect for die cutting out sentiments. But if you want to use it on a card or art journal page, you will see overlapping lines because the foil tape is only a few inches wide.
With my projects, by the time I finish adding texture and layers, the lines on the paper won’t be noticeable. If the lines bother you, try using aluminum foil instead.
Applying Aluminum Foil
Aluminum foil will crinkle and rip easily. This makes it great for the kitchen, but not necessarily good for your projects. By adding the aluminum foil to a paper surface with glue, gives it strength and malleability for use in your projects.
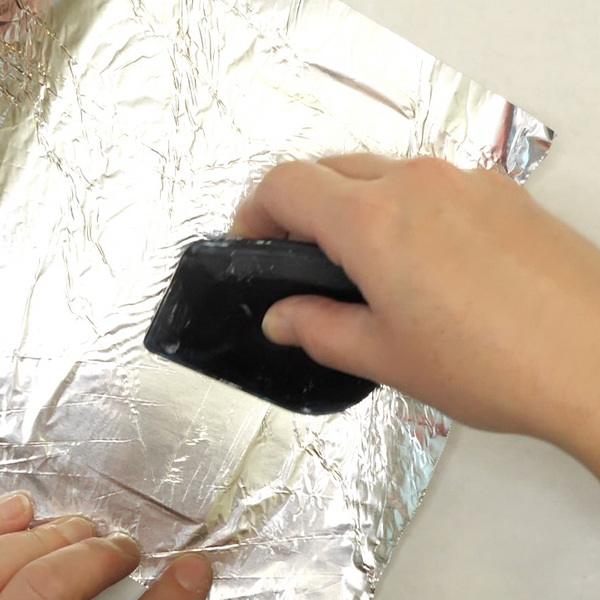
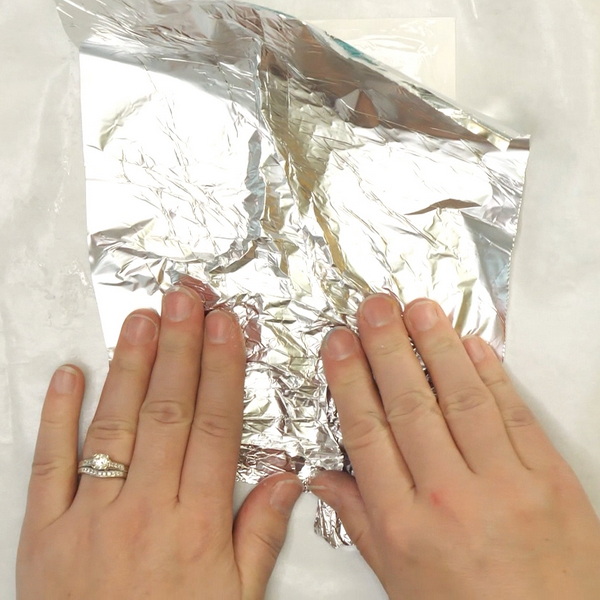
The easiest way to add aluminum foil to paper is to apply glue to the surface and smooth out with a plastic card or palette knife. Make sure to spread the glue out past the edges. Add the foil on top, pressing and smoothing it out with your hands across the glue.
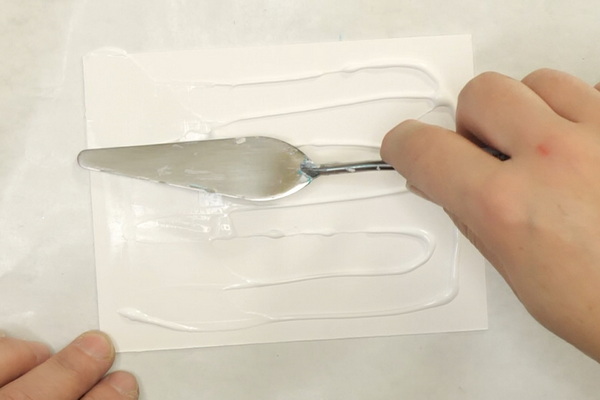
You might end up with wrinkles in the foil. If this is the case, use a soft craft scraper or an old gift card to smooth out the wrinkles before the glue dries.
This technique can be used with both the dull and shiny side of the foil. Set it aside to fully dry and then cut the excess foil off with scissors.
Pros and Cons of Aluminum Foil
Aluminum foil is great because it is inexpensive and readily available. You do need to glue it to the paper, which is an extra step and takes more time. The positive thing is that you don’t get lines in the foil like you do with foil tape. But you will need to make sure your adhesive is applied evenly to not get bumps in the aluminum foil.
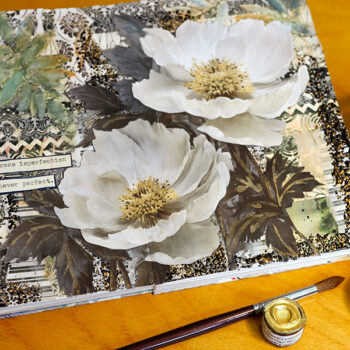
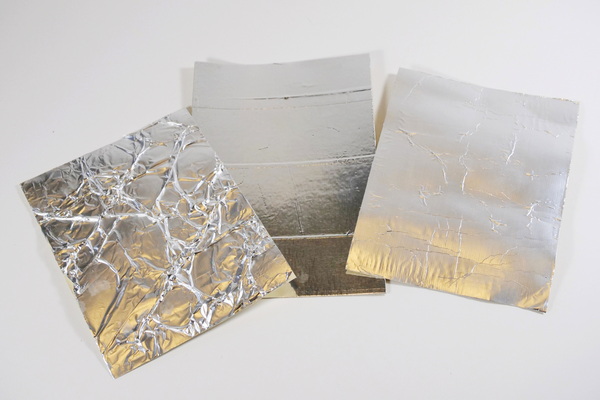
Creating Additional Texture
I like using both these foil alternatives for backgrounds in my art journal pages and card projects. To create more textures, when applying the aluminum foil to the glue, purposely create wrinkles. This can create a beautiful textured start to your art journal page in which you can apply mediums and colors to enhance the textured background.
For the foil tape, you can add foil in a variety of directions to purposely get lines. This is a great way to create geometry and texture to your projects.
What to Do with the Foil?
There are a variety of things that can be done with the foil. You can emboss it, die cut it and color the foil. In next week’s article, I will share several ways to use these foils in your creative projects.
Any Questions?
Any questions on how to use foil alternatives for cards and art journal pages? Have you tried any of these products in your art journal? I’d love to hear if you have and if you have any questions about what I’ve shared today. Leave a comment below. I’d love to start a conversation with you!
Project Supply List

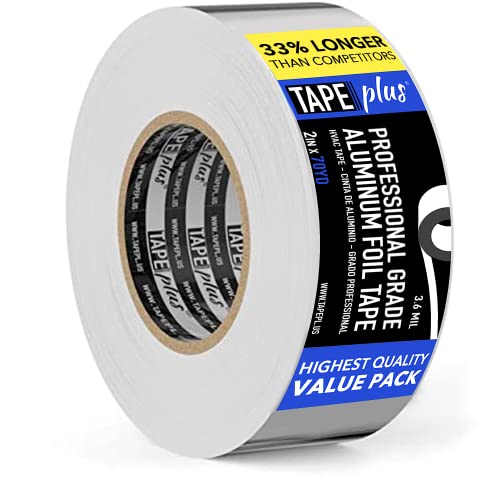
This is a great adhesive-backed for for using as a base for any card project or journal page.

Use this with your favorite adhesive to create a foil background to your next creative project!

You're going to feel just like an expert when you're cutting the smallest of details with the Cutter Bee Scissors by EK Success. These un"bee"lievable compact scissors will have you feeling like a queen bee when you swarm right into your fine detail or fussy cutting projects.

Art Glitter Glue is permanent and dries clear and adheres to a variety of surfaces. It's water based and acid free. Make sure to close lid to avoid drying of glitter glue. Bundle comes with one bottle of 8oz, one bottle of 2 oz and a metal tip for easy application.

Regular Gel Semi-Gloss is a translucent medium with a consistency similar to Heavy Body paints. Use for extending colors, altering sheen, increasing translucency and adhering collage elements.

Ideal for cutting a wide variety of crafting materials including paper, photos, scrapbook pages or specialty materials. Cutter comes with a lifetime warranty.