The Ultimate Guide for Coloring Acetate
Looking for ways to add transparent or translucent color to your creative projects? Today, I’ll be sharing tips and techniques for getting the best results coloring acetate. I’ll be sharing with you 7 different mediums and which ones work best for coloring acetate.
Hop-A-Long Studio is reader-supported. When you buy through links on our site, we may earn an affiliate commission at no cost to you. Learn more.
Choosing the Right Medium for Coloring Acetate
Last week I shared how to stamp on acetate using inks and paints. We will be using those stamped images and adding color to them. If you’d like to see the article about how to stamp on acetate sheets with inks and paints, click here.
When choosing a medium for coloring on acetate, it’s important to understand the properties of your mediums. Will it work on non-absorbent surfaces? Is the medium water-based or oil based? Understanding the properties of your mediums goes a long way towards getting great results with coloring on acetate.
Working on a Non-Absorbent Surface
When working on a non-absorbent surface like acetate, coloring mediums act very differently. Many water-based mediums require absorption into the surface for the medium to dry. But acetate isn’t one of these surfaces. Because of this, you need to use a coloring medium that will dry on a non-absorbent surface.
The Best (and Worst) Coloring Mediums for Acetate
Today we’ll be covering mediums that will work on acetate and a few common coloring mediums that won’t work well on this surface.
Watercolor Pens
Many of us have water-based or watercolor pens that we may want to use on acetate. Examples of watercolor or water-based pens include Crayola markers, Tombow Dual Brush pens, and Graphix Aqua pens.
What these pens have in common is that they are designed to absorb into the surface of the paper. When used on acetate, they won’t dry because the surface isn’t absorbent.
When you first add watercolor pens to acetate, the color is beautiful. But as it sits on the surface, you’ll notice that the color will start pooling in some areas and pulling away leaving white spots in others. This leaves you with a splotchy and uneven surface.
More importantly, the ink will not dry. I tested it by leaving it out for several hours, but even then, it was still wet to the touch. The ink was easy to remove from the surface with a wet paper towel. I don’t recommend these markers for use on acetate, they just don’t work well.
It’s important that we know what ink is in our pens. Any water-soluble ink will rewet with water and won’t dry on acetate. Understanding these properties will help us choose the right pen for our project.
Faber-Castell PITT Artist Pens
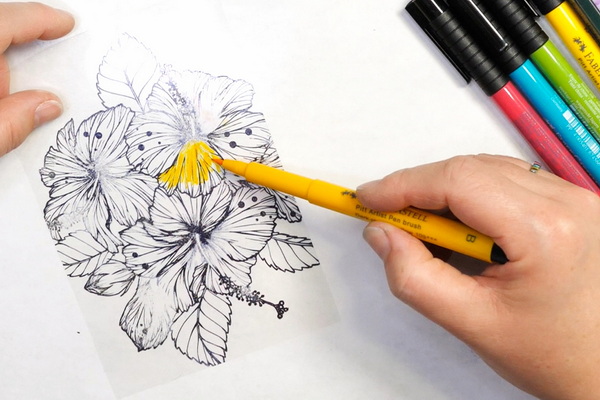
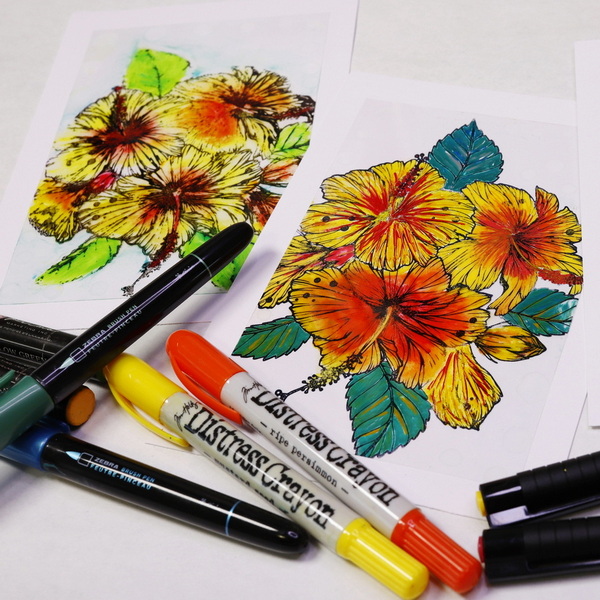
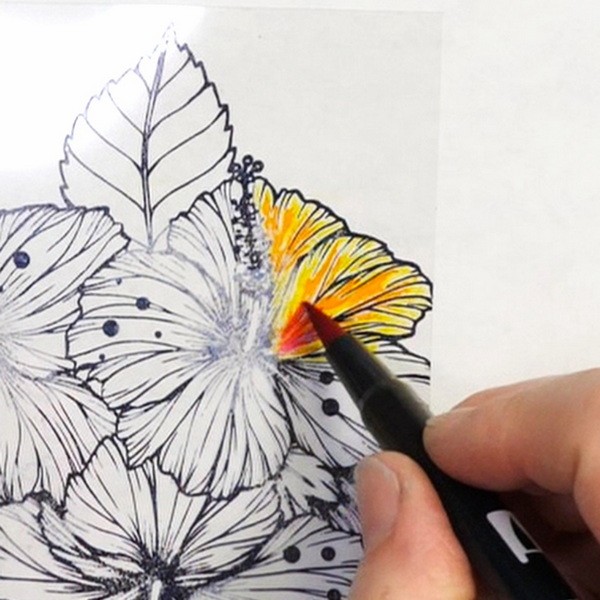
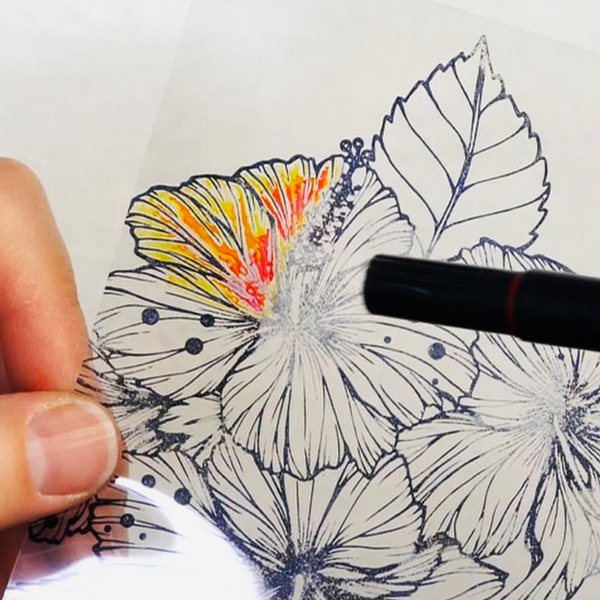
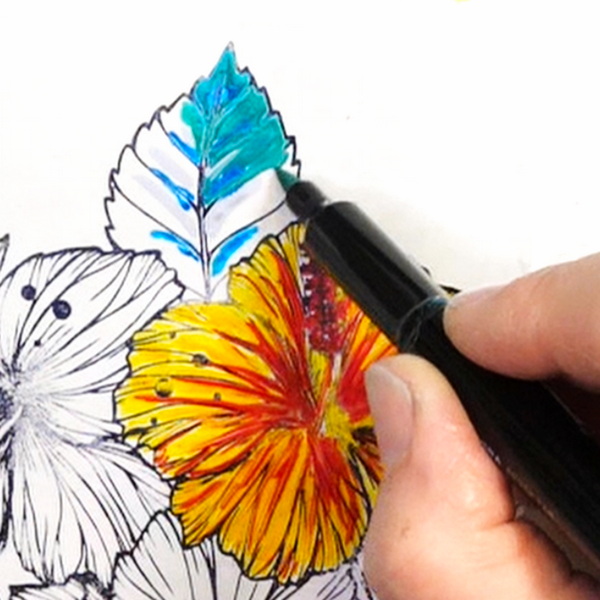
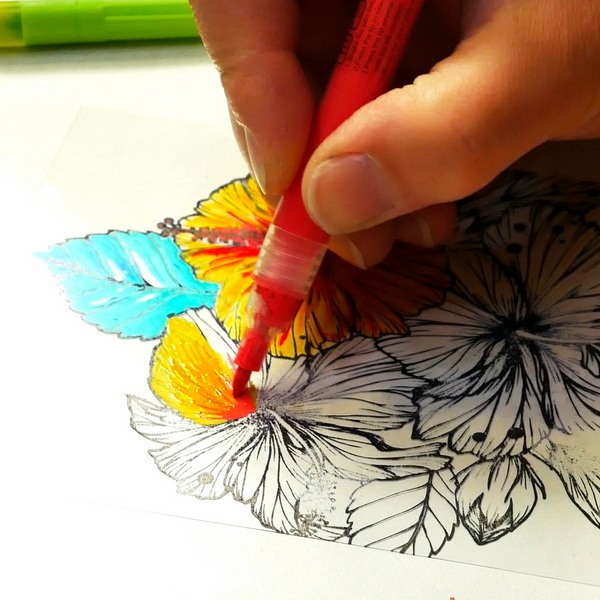
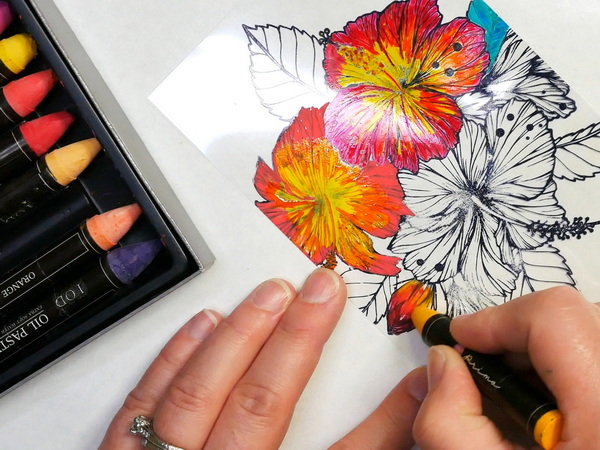
Faber- Castell PITT artist pens come in a large range of colors and work perfectly on acetate. I highly recommend these pens and they are one of my favorite mediums for acetate. The PITT pens have a pigmented India ink that is lightfast and creates bold and beautiful color. This works well on clear surfaces like acetate, where the boldness of the color really helps with the design.
Generally, when I work on acetate, I tend to use darker pen colors so that I have strong color on the clear surface. Pale and pastel colors won’t work as well on acetate as they won’t be seen as well, unless they are then adhered to white paper.
Faber-Castell PITT pens are a great choice because of the nib type is very forgiving. You can use the side of these brush pens to add a layer of color very quickly, but then the tip can be used for adding in fine details.
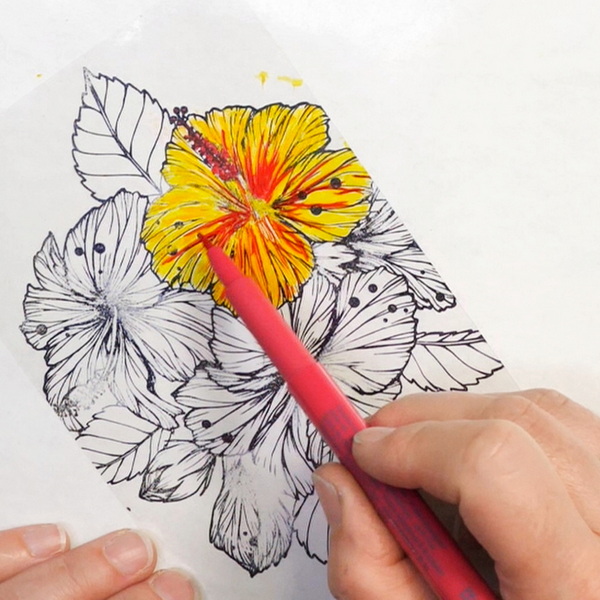
I also like to blend the colors on the acetate surface. For this example, I used yellow, orange and red. As you can see, by blending them into each other, you can create some beautiful custom colors. But be aware, when you blend the colors, this may discolor your pen tip a bit. To clear the color off the nib, write on a scrap piece of paper for a few strokes. This will remove the unwanted color and the pen will start writing in the original color again.
Give the ink a few minutes to dry. When you’re working on non-absorbent surfaces, most inks and coloring mediums need a longer drying time. This is because the ink is sitting on top of the surface instead of being absorbed into the fibers of the surface.

Best Inks and Paints for PITT Pens
If you are going to color in a stamped image on your acetate with PITT pens, I would suggest using black StazON ink for stamping or black acrylic paint. The PITT pen will work perfectly on the stamped images using these products.
With Ranger Jet Black Archival Ink I found that even after I let the stamped image fully dry, I was still having issues with the PITT pens picking up black ink on the tips of the pen. This muddies the color and isn’t a result I’m happy with. You can clean the pen on paper to get rid of this color, but I prefer StazOn ink over archival ink.
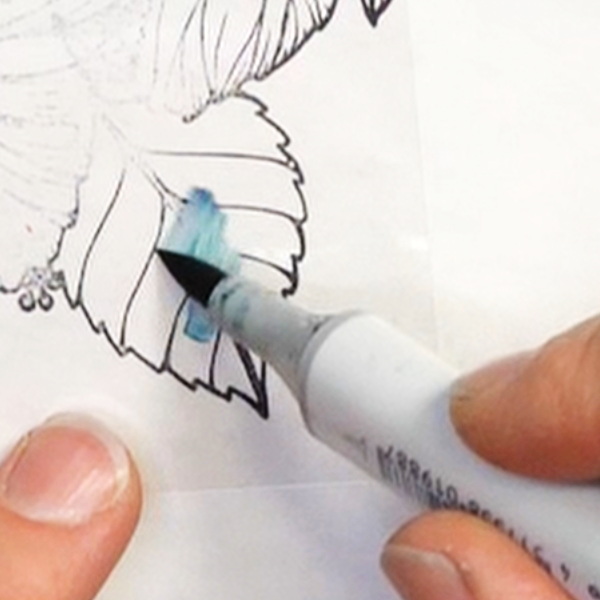
Zebra Metallic Brush Pens
I originally purchased the Zebra Metallic Brush Pens for use on black paper, but I thought it would be fun to test them on acetate. To my surprise, they worked beautifully. They create even color onto the surface and dry quickly.
These pens are only available in a few colors, so I created some fun color blends using silver, metallic blue and green. I love creating color blends with these pens and I love how quickly they dry on acetate.
For each of the stamped images the Zebra brush pens worked perfectly on all the inks and paints. I didn’t notice any lifting of color or smearing.
Alcohol Ink Markers
Alcohol ink markers are a good option for coloring acetate. They are meant to work on non-absorbent surfaces and the color dries very quickly. They’re a great medium for coloring acetate, mark making and drawing.
But there is a drawback to using alcohol inks with stamped images. I found with both the StazOn and Archival ink that the alcohol ink marker will lift the ink. In my opinion, this doesn’t make it an ideal coloring medium for stamping. It will work with acrylic paint because once the acrylic paint dries, it is permanent on the surface.
There is a solution to this problem. You can choose to stamp on one side of the acetate and color on the other. This works, but when the acetate is added to the project, one side of the acetate that has color will be exposed. You will just need to be careful and make sure that any mediums you add on top don’t react to alcohol ink.
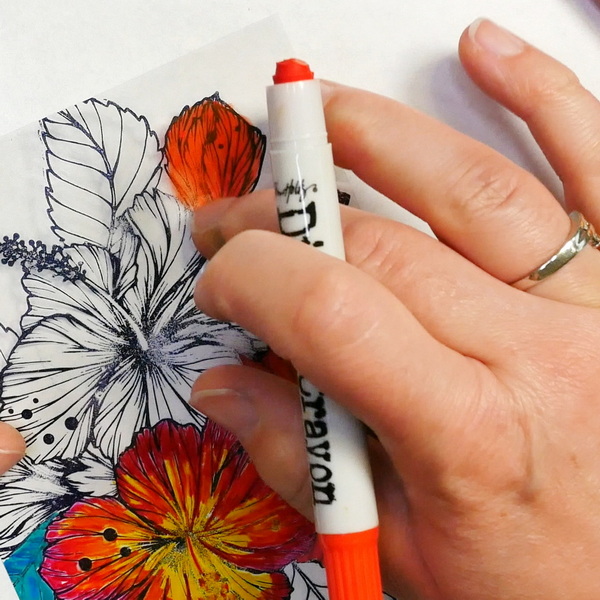
Acrylic Paint Pens and Markers
A fantastic medium for coloring acetate is acrylic paints and markers. Unlike PITT pens that have more translucent color, paint pens provide opaque color to the surface. They blend beautifully on the acetate and dry quickly.
Because of the slippery surface of the acetate, sometimes the paint pens won’t start flowing easily. If this happens, write on a piece of paper to start the paint pen, and then move to the acetate surface.
What I love about the paint pens is how easily you can add color. But be aware that you will need to approach coloring a bit differently. Because paint pens create opaque color, if you put several layers of paint onto the back of the acetate, when you flip it over, you may not see the full blend of colors.
You need to think about not layering color on color but blending colors into colors. If you choose to blend one color on top of another, you may see some of the color layers, but it won’t be as vibrant.
What is fantastic about acrylic paint pens is that you can add color quickly and when you flip it over, still see the stamped details.
If you don’t have paint pens, this technique can also be done with a brush and acrylic paint.
As with PITT pens, all three stamped surfaces, StazOn, Archival and acrylic paint work well with paint pens.
Water-Soluble Oil Pastels
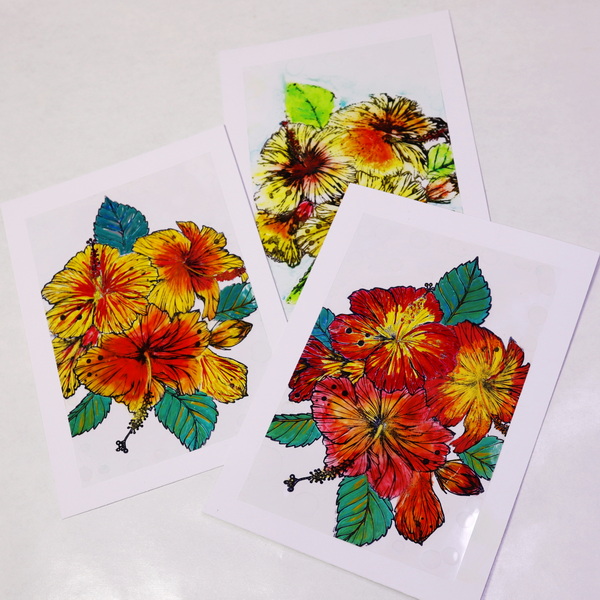
If you have a set of water-soluble oil pastels, these work amazingly for coloring on acetate. Start by applying water-soluble oil pastel to the image. You can choose to leave it as is or blend it out with your finger to get unique color mixes.
For this demonstration, I was using Prima water-soluble oil pastels that I purchased many years ago. You can now get these water-soluble oil pastels in 2 smaller sets. There is the Prima Water-Soluble Oil Pastels Basic color set and the Prima Water-Soluble Oil Pastels Rustic color set.
On StazOn ink and acrylic paint, the oil pastels blend beautifully creating gorgeous, saturated color. When used with the archival ink, they tend to create muddy color. This is due to the color of the black ink mixing with the water-soluble oil pastels.

For the acrylic painted surface, I also played around with adding in intense color and then using a baby wipe to blend out the color. This gives a unique look to the acetate that is colored with the water-soluble oil pastels.
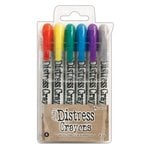
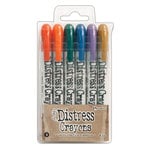
Tim Holtz Distress Crayons
The last medium I tested for coloring acetate was the Tim Holtz Distress Crayons. These crayons come in a large range of colors and are a great medium for a lot of different art journal techniques. They work similarly to the water-soluble oil pastels. You can add a crayon to the acetate and leave it, or it can be smudged out with your finger to create a unique color blend.
You get the same results with the Distress Crayons as the oil pastels when used on stamped surfaces. The StazOn ink and acrylic paint worked well while the Archival ink blended with the Distress Crayons creating muddy color.
A solution to this is that you can choose to add the water-soluble oil pastels and Distress Crayons to the other side of the acetate. This will prevent muddying the colors.
Adhering Colored Acetate
To adhere the colored acetate to any project, I would suggest using Art Glitter Glue. If you want to use a dry adhesive, like Sookwang tape or glue dots, this is also possible. Just make sure to hide them behind the darkest part of your coloring so that they aren’t seen on the project.
Use a bit of care when using wet glue with acetate. First, make sure that the color is fully dry before adding a wet medium. Also, some of the mediums, like water-soluble oil pastels and Distress Crayons, are created to react with water. So be careful when adding glue to them to make sure they don’t smudge or alter in color when applied.
When applying glue, I like to add it to the colored and stamped side of the acetate. This way, there is a layer of acetate shielding the ink, paint and coloring. This way if you choose to add mixed media layers on top, your image will stay just as nice as when you first colored it.
Any Questions?
I know that we’ve covered a lot of mediums today for coloring acetate. I hope that this simplifies your process when it comes choosing a medium. I’d suggest testing a bunch of different coloring mediums. You might find one that you love that you didn’t really expect to work. I found that out when testing the Zebra brush pens.
I’d love to know what mediums that you use for coloring acetate. Please leave a comment below and I’d love to start a conversation with you!
Project Supplies


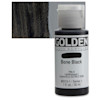
Golden Fluid Acrylics – Bone Black, 1 oz bottle
from: Blick Art Materials

The Jet Black Archival Ink Pad by Ranger Ink is acid-free, non-toxic, water-resistant, and fade-resistant, and provides lasting results. This ink will not deteriorate paper and does not bleed when inks, paints, or markers are used over it.


The Artistro Paint Pens for acrylic painting are made with the highest quality water-based Italian imported inks for a smooth, consistent flow and glossy, opaque finish. Our 0.7mm extra fine tipped nibs are made in Japan with love.


Medium brush point, assorted shimmering pigment ink color that is acid free, archival quality and water-resistant for a long-lasting impression.
Prima – Water Soluble Oil Pastels – Basics
from: Scrapbook.com
Prima – Water Soluble Oil Pastels – Rustic
from: Scrapbook.com
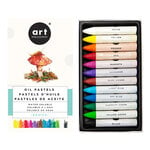
Ranger Ink – Tim Holtz – Distress Crayons – Set 4
from: Scrapbook.com
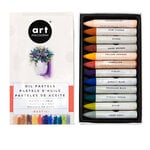
Ranger Ink – Tim Holtz – Distress Crayons – Set 9
from: Scrapbook.com

Art Glitter Glue is permanent and dries clear and adheres to a variety of surfaces. It's water based and acid free. Make sure to close lid to avoid drying of glitter glue. Bundle comes with one bottle of 8oz, one bottle of 2 oz and a metal tip for easy application.

Hammermill 8.5” x 11” Colored Cardstock 110lb Paper is a premium thick cardstock designed for print and copy use on copiers and printers. It’s heavy cardstock that’s ideal for heavy duty projects.


2 Comments
EJ
Hi, I’m actually trying to get ink onto acetate for an animation project, so I was looking for ways to do clean lines that don’t smudge. I’ll need to flip my sheets over and paint on the back and if everything smudges I can’t do that. So far the only thing that’s adhered without smudging are alcohol markers and sharpies, but these make for ugly line work and aren’t opaque enough. I’ve tried the PITT artist pens at well and had an old one that smudged but I had to put quite a bit of effort into it. I went and bought more today and all of them smudge horribly with little effort at all. I can take a dry paper towel after them and it’s like I wrote with an erasable marker on a whiteboard. I don’t understand how everyone keeps recommending these. They also say they’re not waterproof and they’re india ink, but I’m not getting a result that stays, and literally nothing else I’ve tried stays either. Do you have any other suggestions?
Nadine Milton
I’m sorry to hear that you’re having trouble, that sounds really frustrating. So just to clarify, are you adding ink on one side and color on the other? Or are you adding color and ink to only one side? I just want to make sure I understand before giving you too many recommendations!
I find that most of the inks, especially the PITT pens and similar, they need a good amount of drying time so that they don’t smudge. I usually leave them for at least 5-10 minutes before seeing if they smudge. Because you are working on a non-absorbent surface, it’s going to take them longer to set up.
If you need to protect the surface for an animation project, I wonder if you could sandwich your color between 2 pieces of acetate (color on one side and carefully glue a piece of acetate over top so that it is protected). I find that the one medium that will always work for me is acrylic paint, it’ll dry on any surface and if you’re worried about it chipping, just add a sealant over top. I hope that helps and gives you a few more ideas of things you could try!